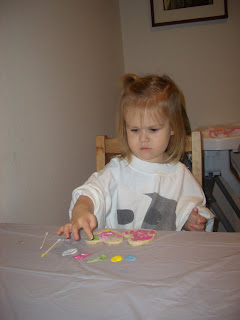
To kick off the first day of December, we did our first advent activity: Dough Christmas Ornaments. In the morning we made the dough, cut out the shapes, and cooked them. At night, when Daddy got home from work, we painted them. K had so much fun with the paint, and I'm sure you and yours will too!
You could make them really cute and then tie them onto gift packages with some cute ribbon.
The fun thing with these ornaments, is you can cut them any shape you want. Use cookie cutters, cups for circles, or your child's hand to shape your dough.
There are a lot of recipes out there on the internet for dough ornaments. Here is the recipe I used because it was the one that I had all of the ingredients to. Beware, if your child is like mine, they will want to try the dough, only to find out that it is "yucky!" and spit it out. They do look exactly like sugar cookies but taste nothing like them!
Christmas Dough Ornaments:
2 cups flour
1 cup salt
1 cup water
(I also read that you can also add spices such as cinnamon, nutmeg, etc. to make them smell yummy.)
(I also read that you can also add spices such as cinnamon, nutmeg, etc. to make them smell yummy.)
-mix flour and salt.
-add water a bit at a time until completely moistened. add more flour/water so that the dough isn't too dry or too sticky.
-knead until smooth.
-roll out onto floured surface.
-cut into shapes. use a straw to make a hole to hang your ornaments from.
-bake at 200-225 for approximately 2 hours. watch to make sure they don't burn. (I flipped mine after 2 hours and cooked them for another hour or so to make sure they were nice and hard and dry.)
-let them cool thoroughly and then decorate with paint, markers, glitter, etc.
-seal them using varnish.
-tie a ribbon through the hole and display for all to see!


No comments:
Post a Comment