
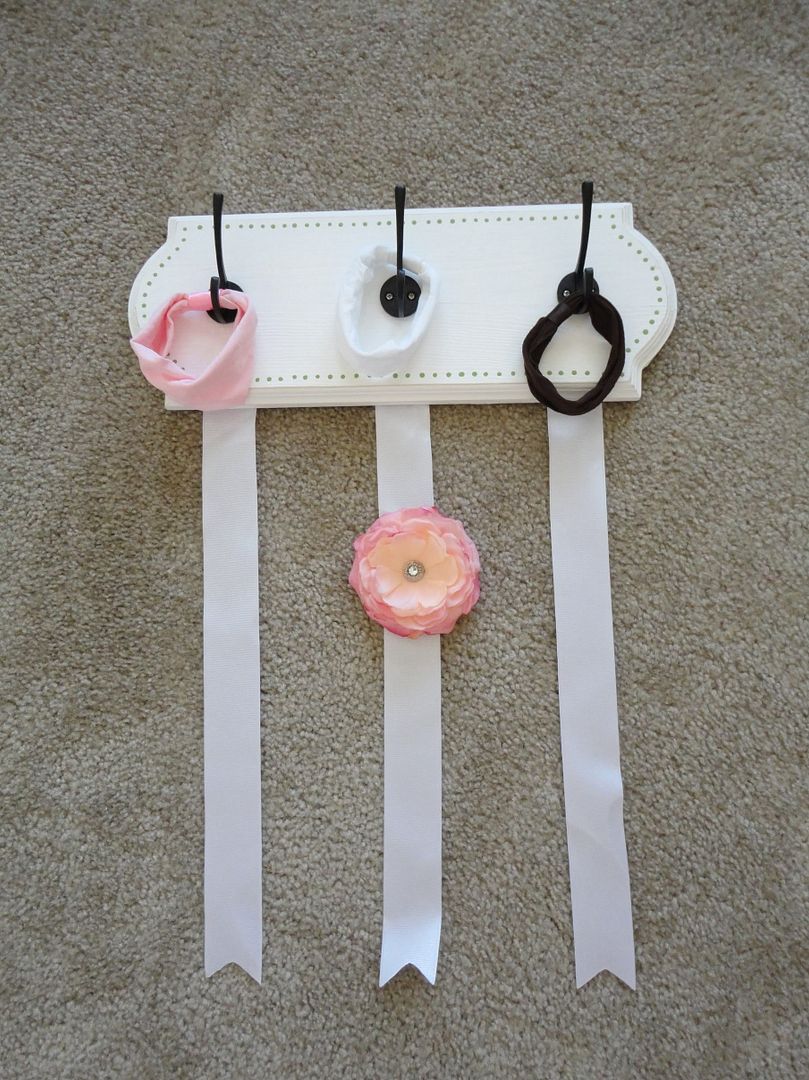
So my son has this cute friend. He is adorable and I think his parents should make 10 more just like him. As to the world's luck, his momma is pregnant with a little girl, coming in a few weeks. She claims she's new to the "girl" thing, but this momma is one of the cutest, most stylin' pregnant people I know (and she even offers to let me borrow her maternity clothes- lucky me!) and I know her daughter is going to be one well dressed little girl. So to initiate her into the world of baby girls, I made her a bow & headband holder and a few headbands and clips to go with it for her baby shower.
I think nylon headbands are the best option for babies. They aren't tight like some that leave indentions on your poor baby's head, and they are soft, not scratchy like some of the ribbon crochet ones. Rather than go out and spend around $5 a headband, I went back to my tried and true alternatives, and made her some myself. I've made them for several friends, and am finally getting around to a tutorial. There are probably a ton of tutorials out there, but this is how I made mine.
Nylon Headband Tutorial:
Needed:
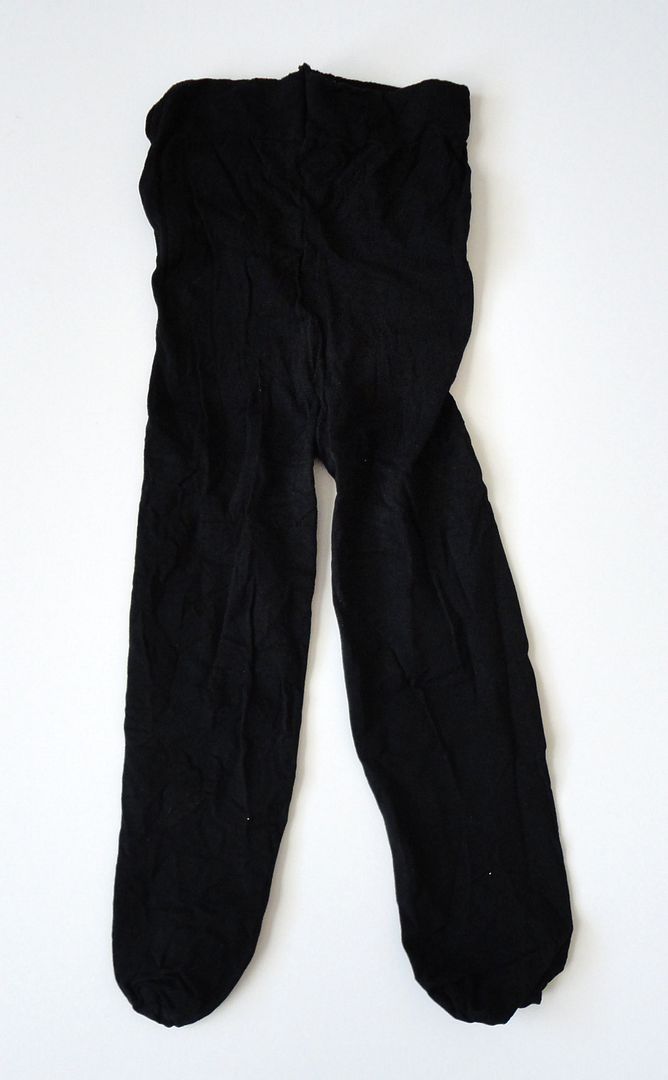
Infant nylon tights-- I bought a 3-pack for around $3 and got white, pink, and black.
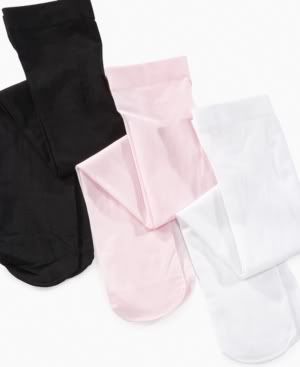
I used size 6-18 months tights. I would avoid the smallest size since they will be tighter once made up into a headband. One pair of tights will make 2 headbands, thus my 3-pack made 6 headbands.
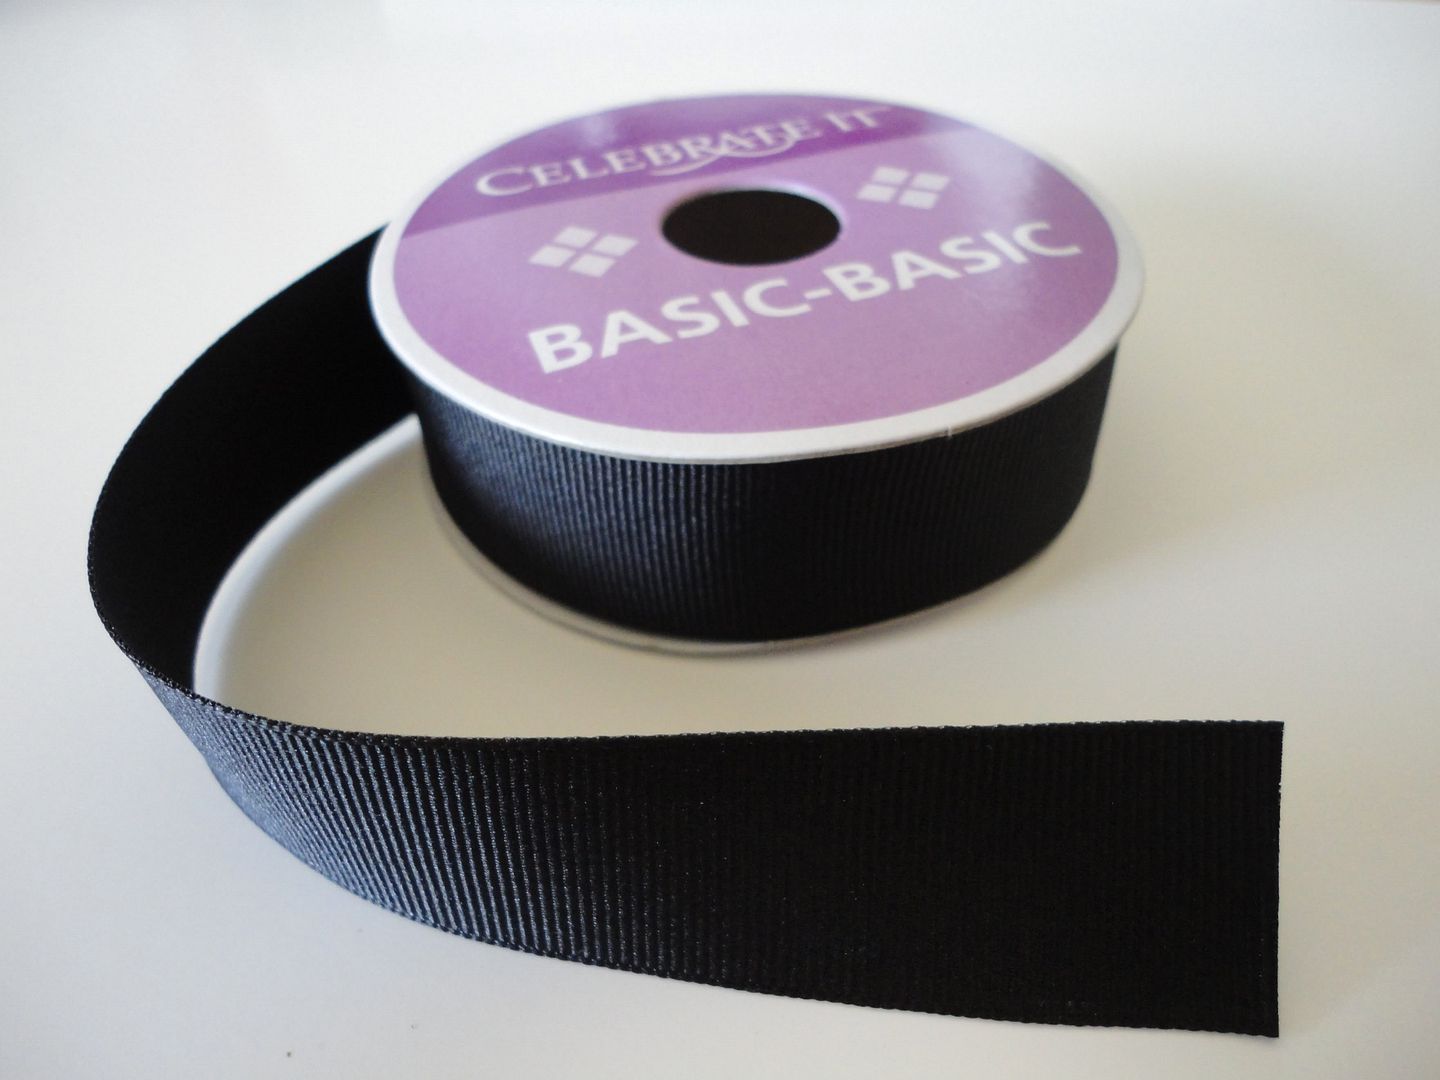
Grosgrain ribbon-- I used 7/8 inch wide ribbon and used about 4 inches per headband. You can use anywhere from 1/2 inch - 1 inch wide ribbon.
Hot glue
Thread
Instructions:
1. Cut the leg just at the crotch line.
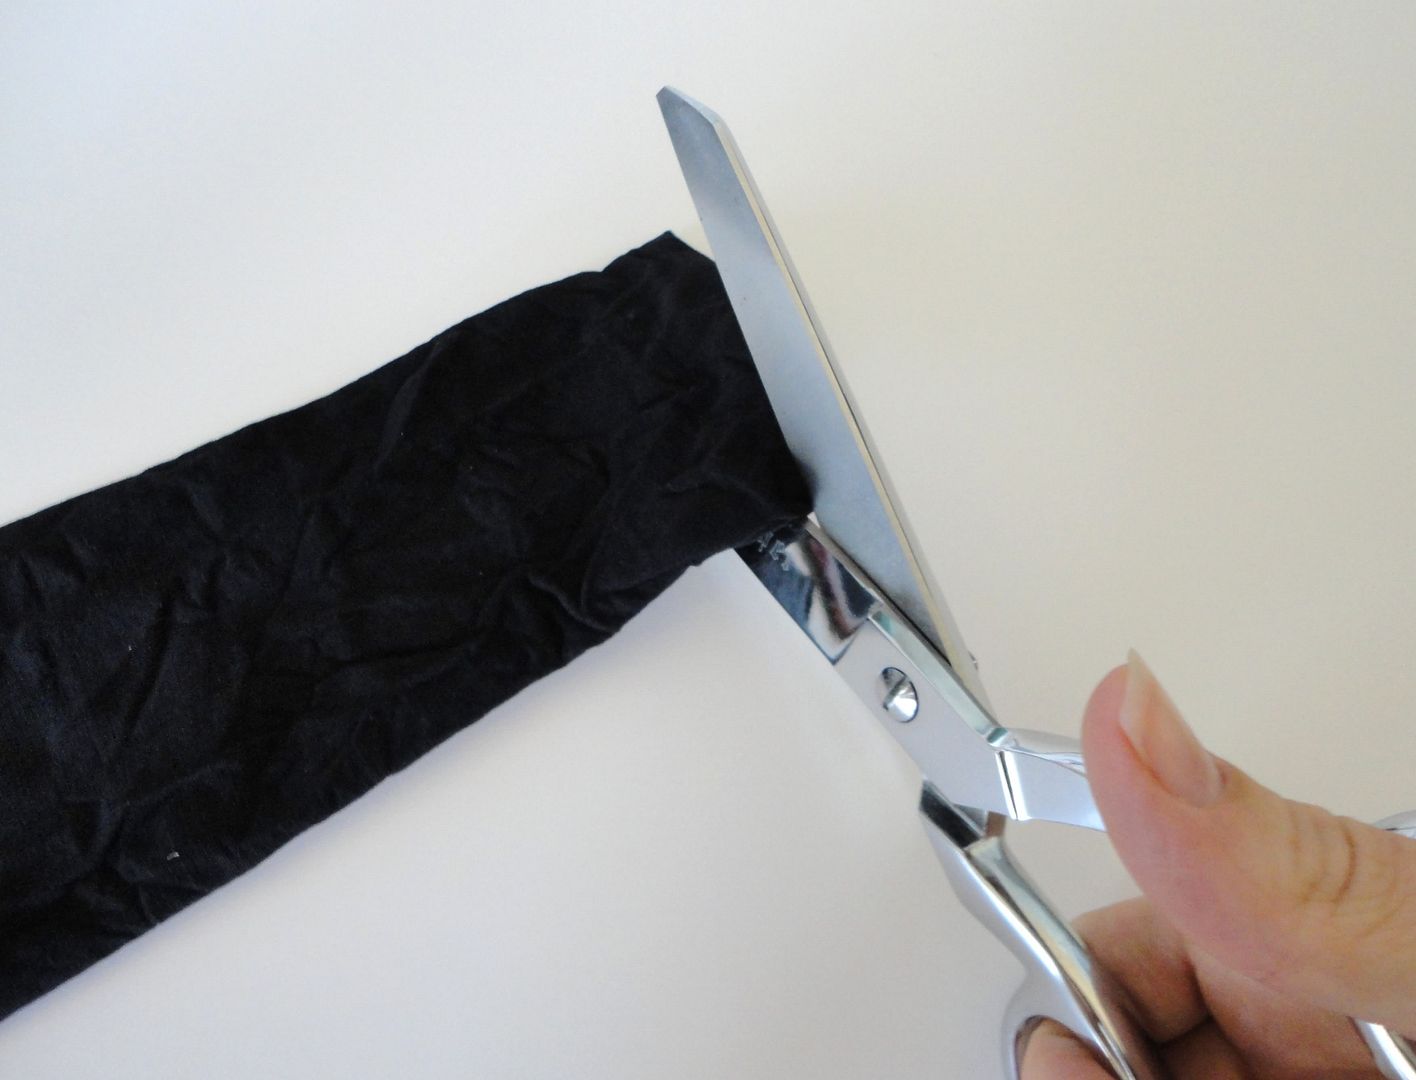
2. Cut the toe seam off.
Your nylon piece should now be a big tube.
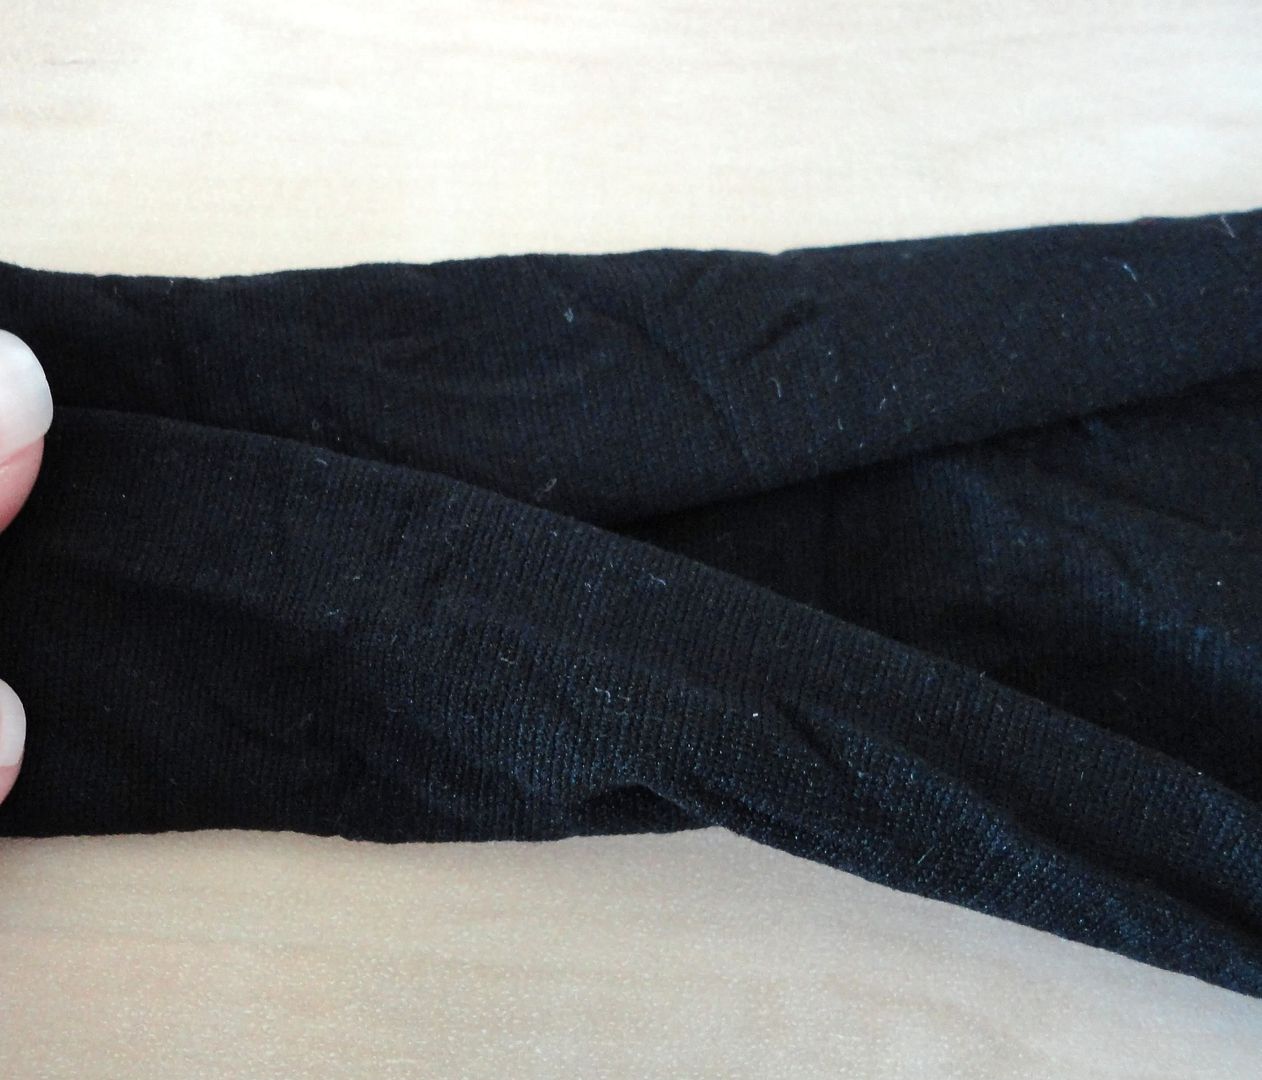
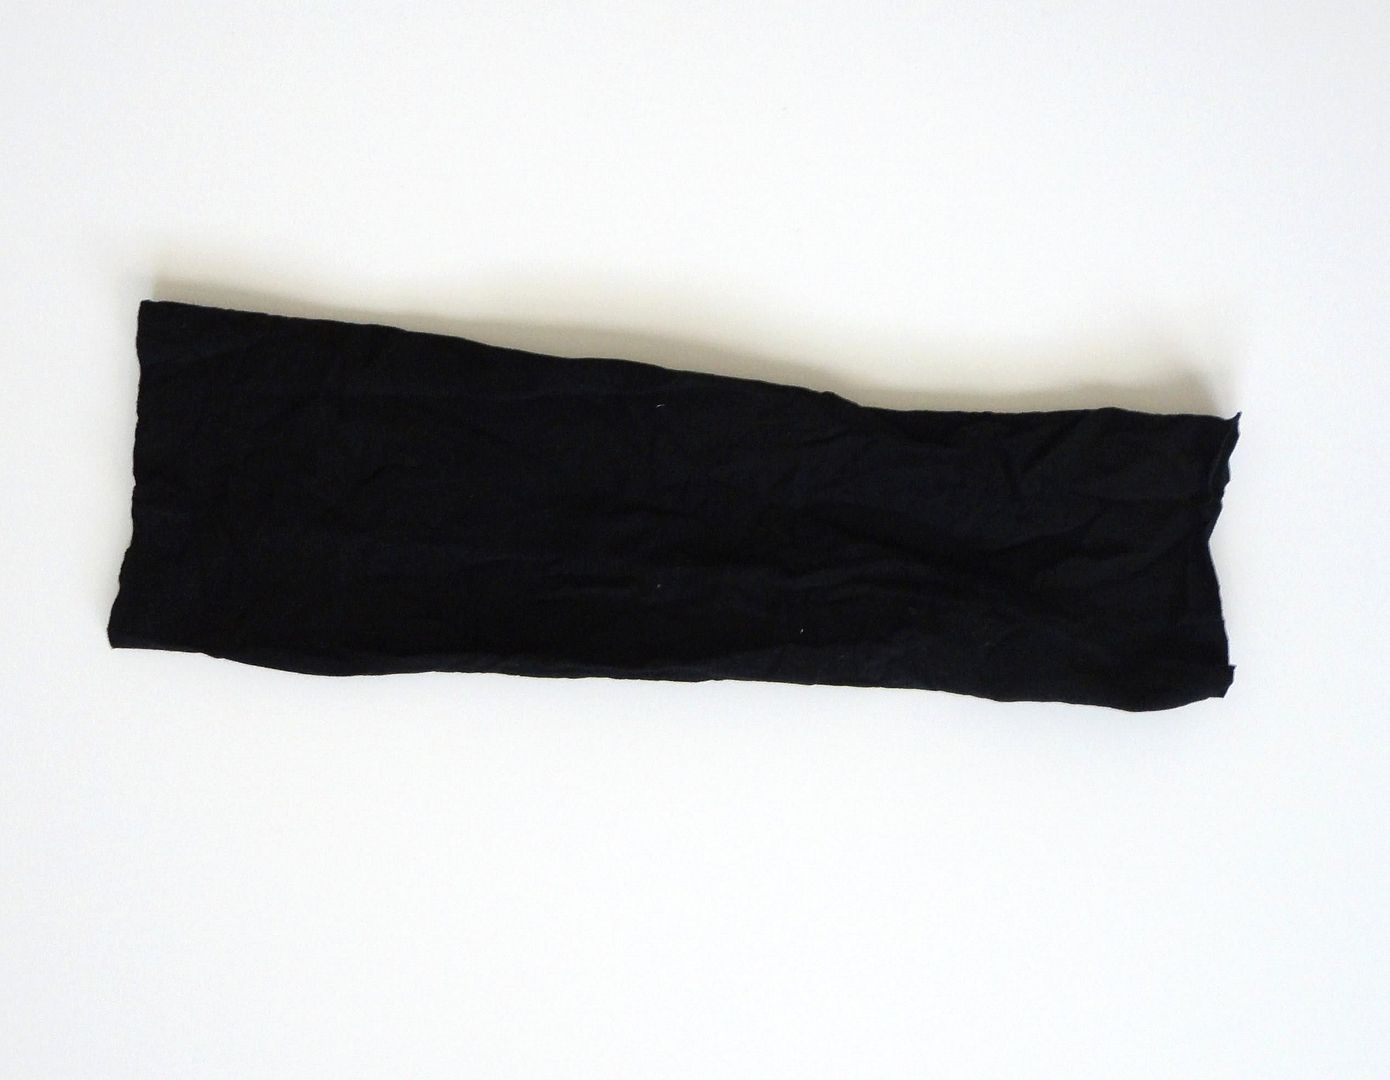
3. Lengthwise, fold your tube in half then in half again, at both ends.
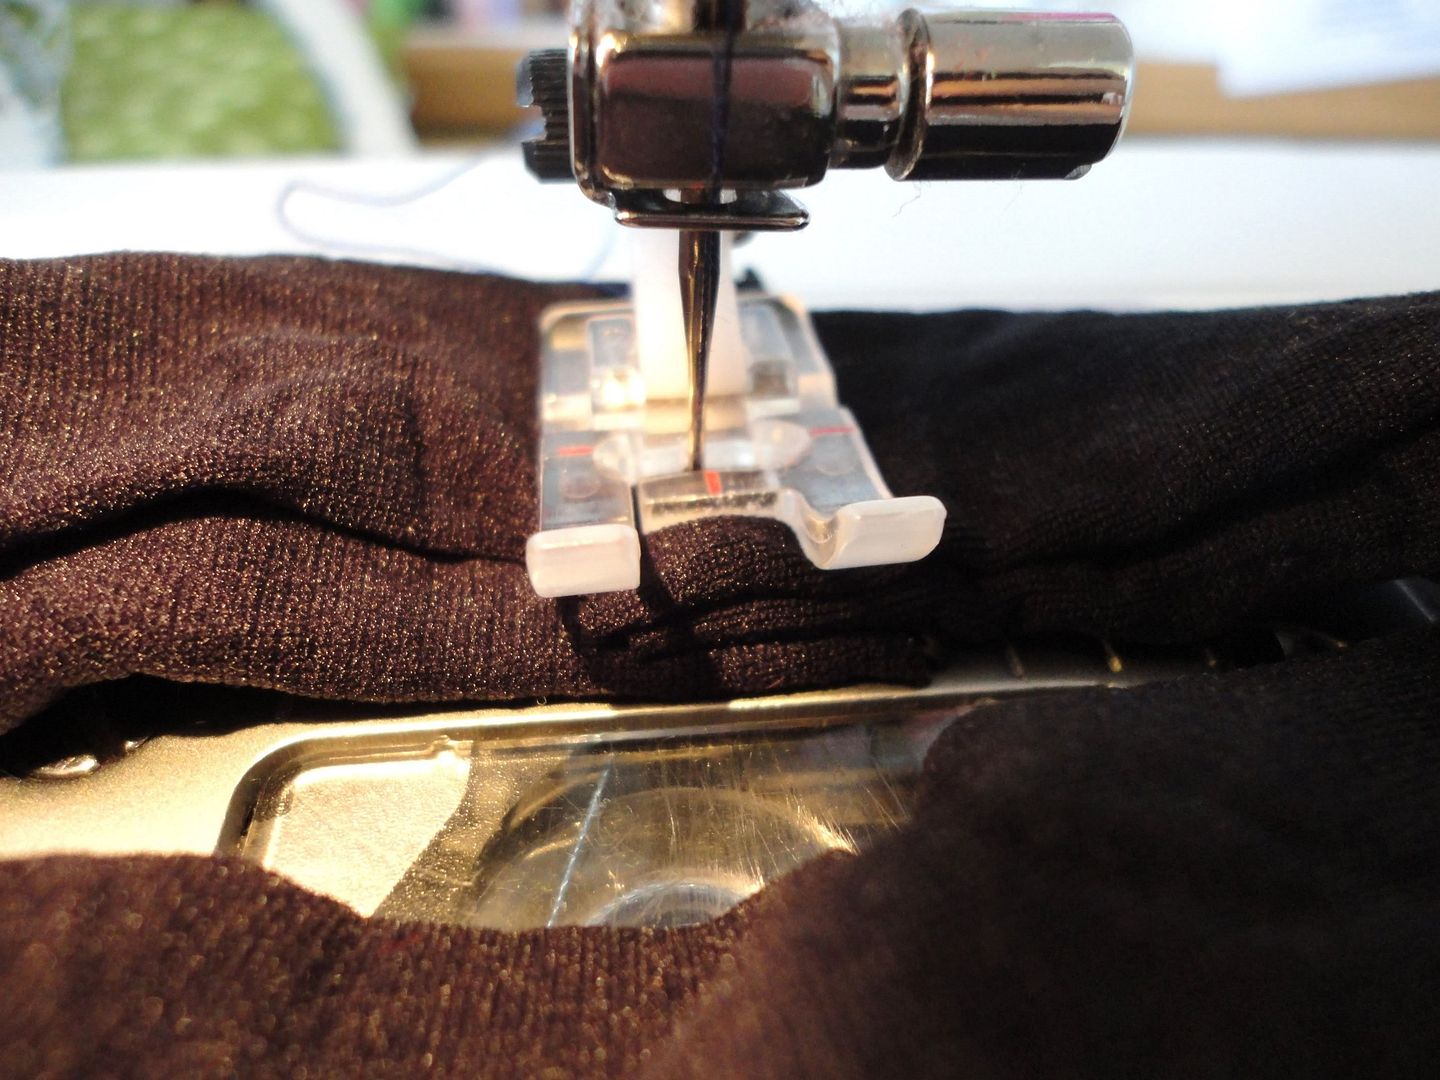
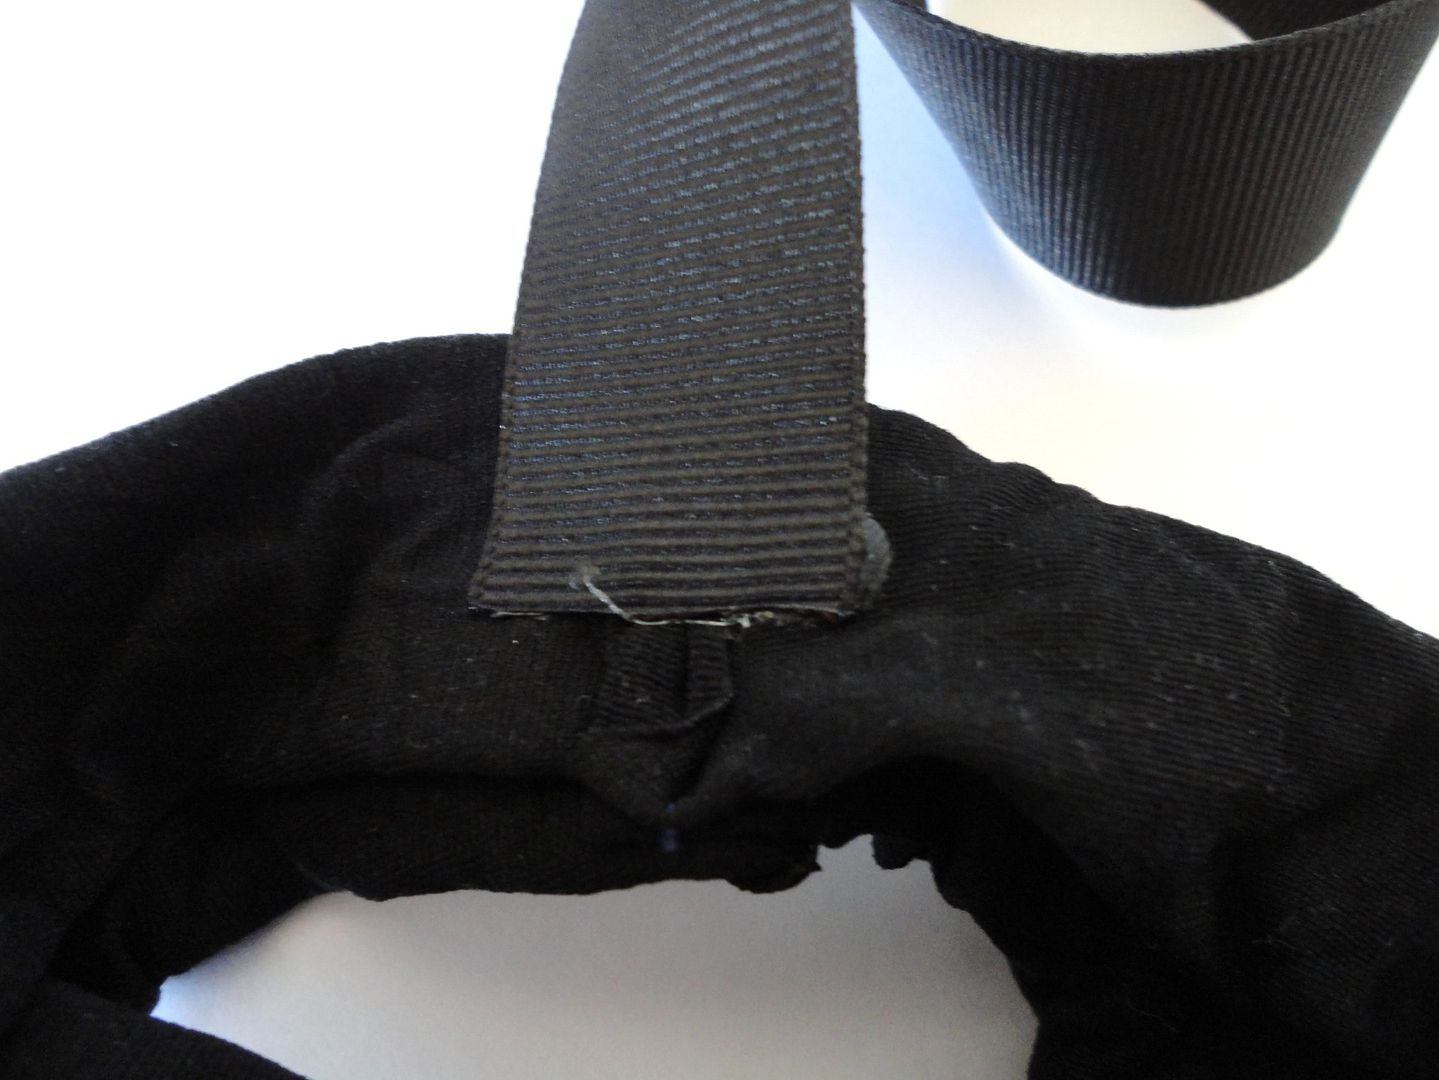
4. Overlap your two folded ends on top of each other and secure by stitching.
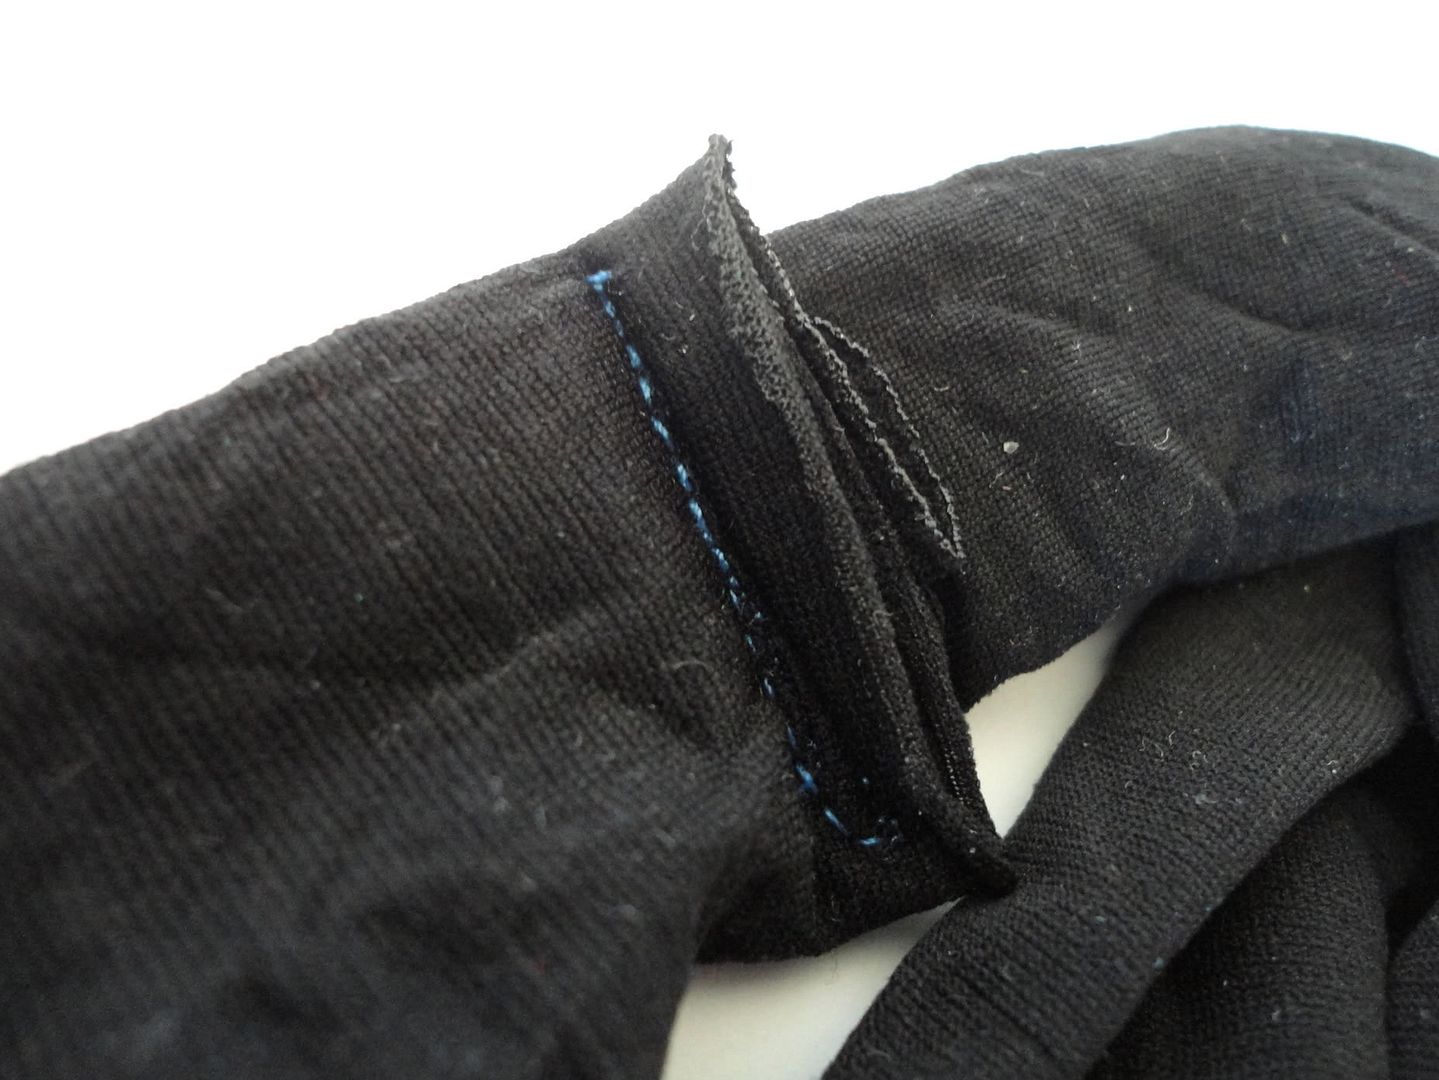
At this point, your headband will look something like this picture above.
5. Heat seal the end of your ribbon to prevent fraying. (Just grap a lighter and hold the ribbon to the flame for a second until it slightly melts.)
6. Hot glue the end of the ribbon to the middle of the stitched section.
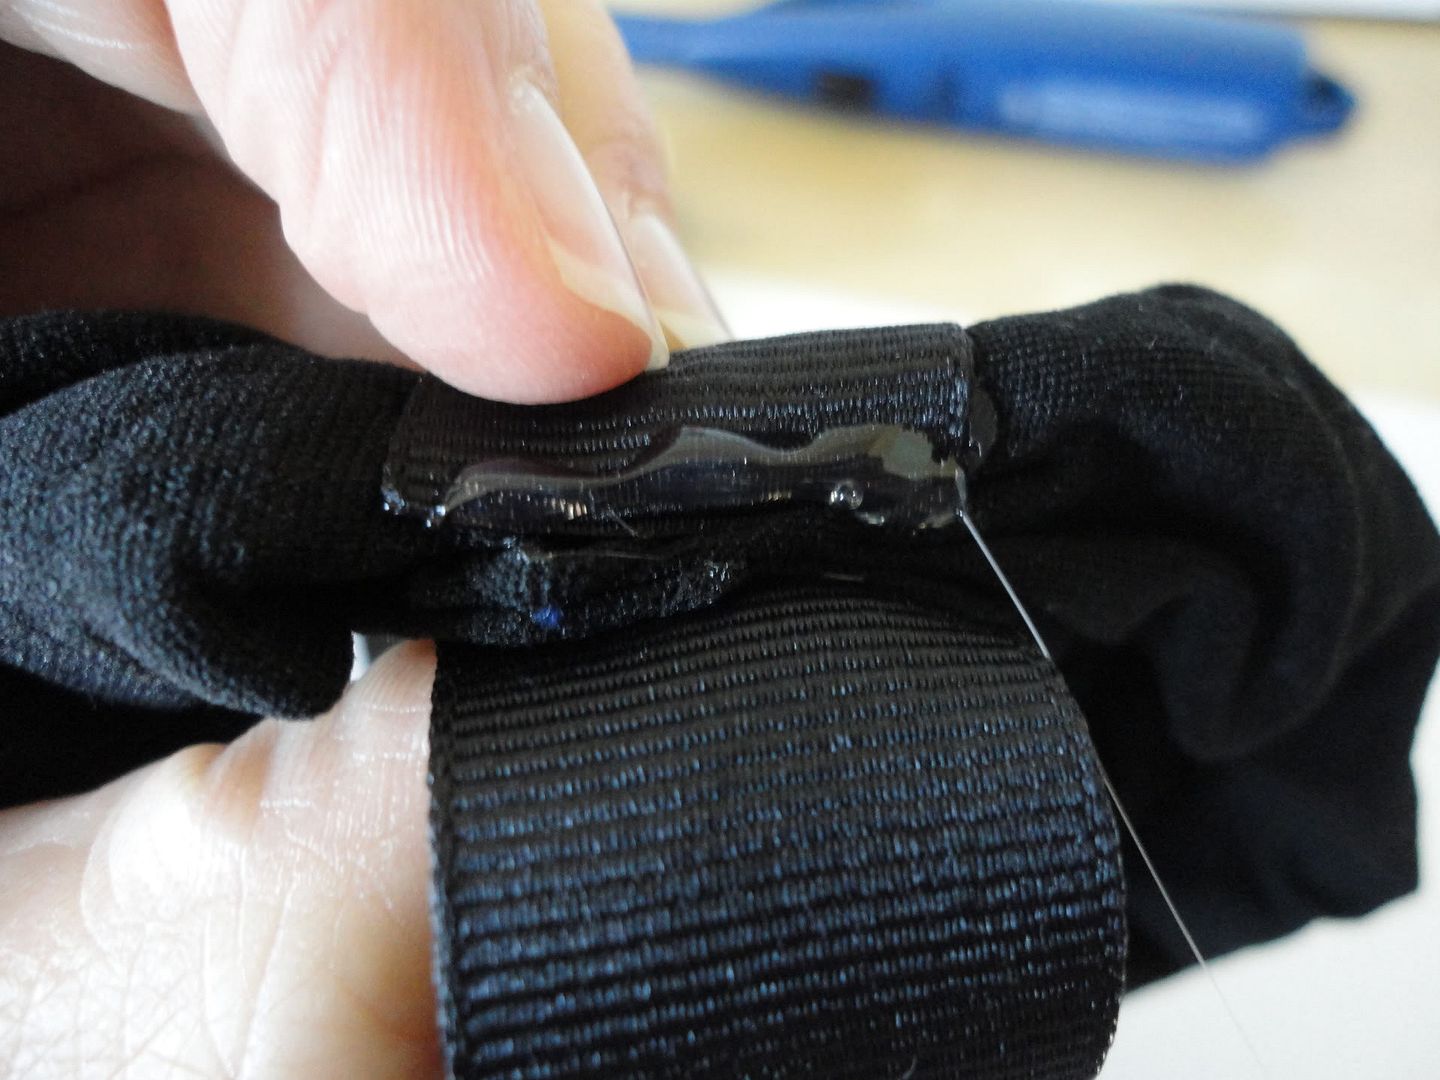
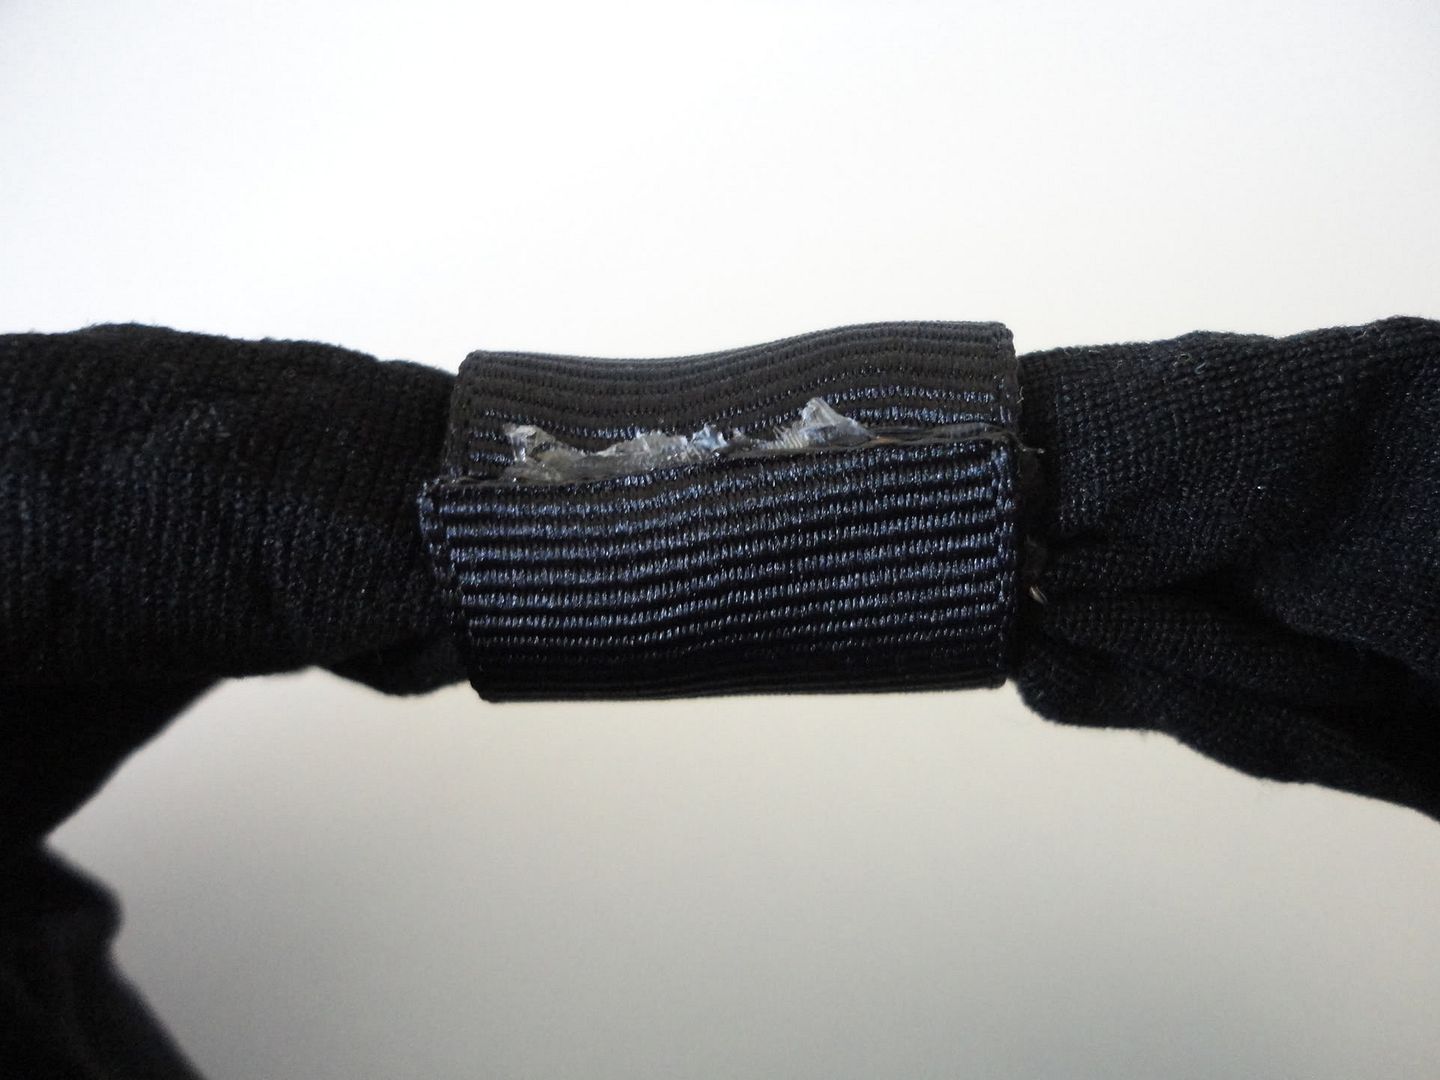
7. Wrap your ribbon tightly around stitched section and hot glue.

It will now look like this, with the stitched, overlapped edges hidden by the ribbon.
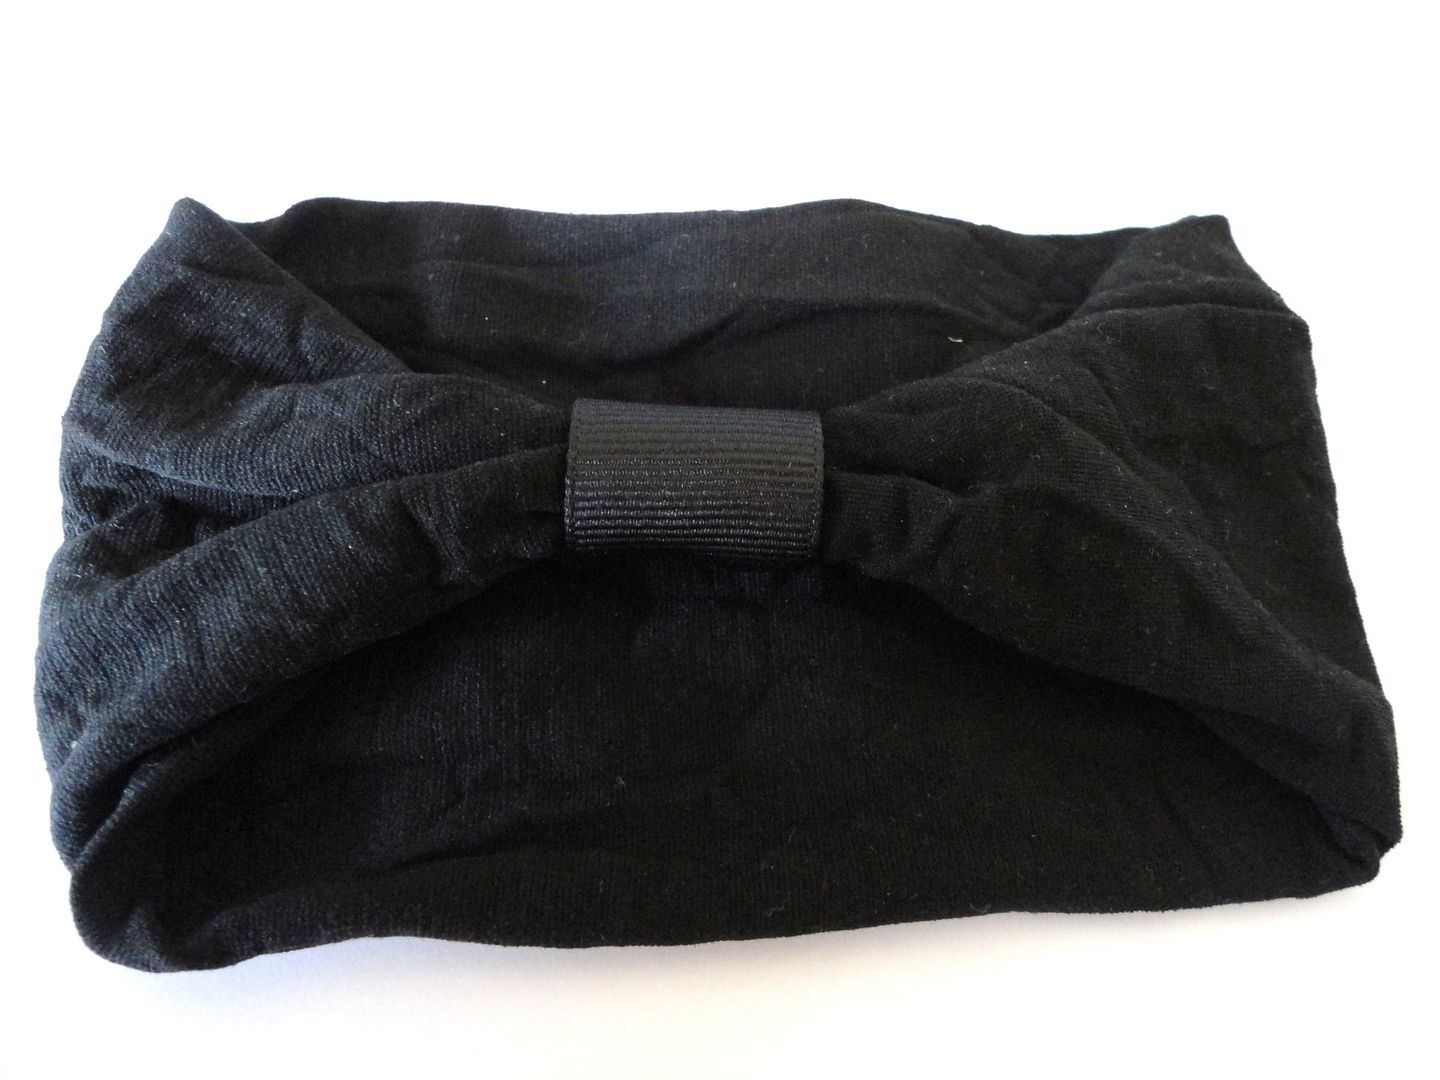
8. Wrap ribbon around again, and cut ribbon to match where you first glued your ribbon (this will be the side against the baby's skin.) Heat seal this cut end, then apply glue and secure ribbon.
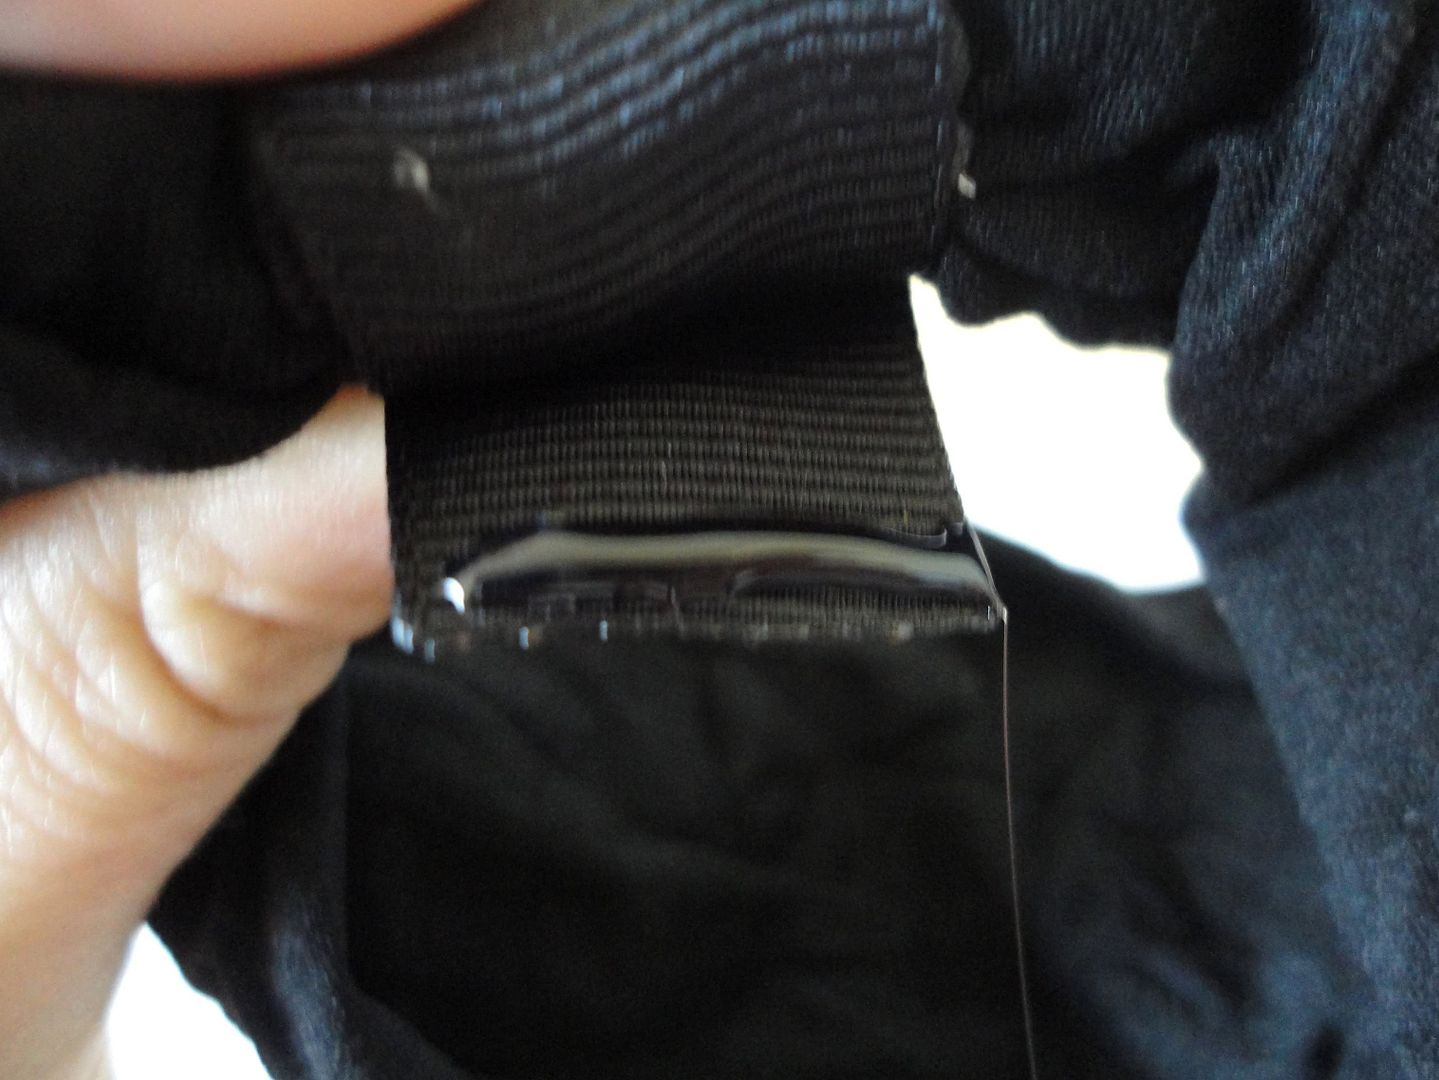
Your headband is now complete and the ribbon section will look like the above picture.
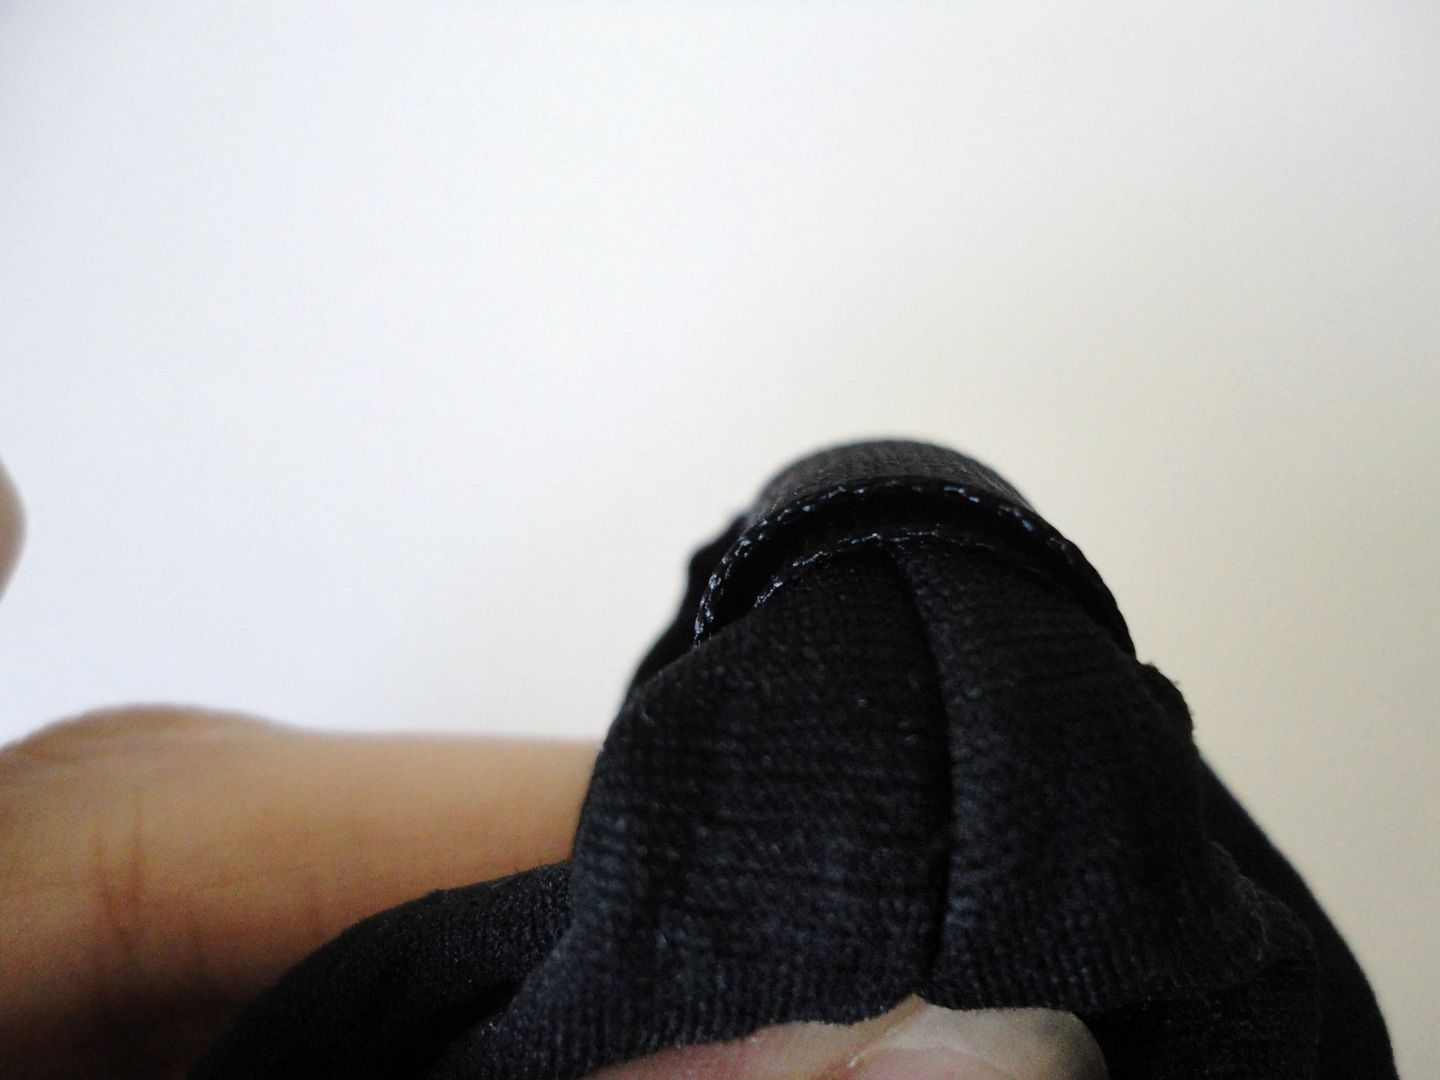
Below is a close-up of the ribbon from the side. The reason that you wrapped it around twice is so that you create a cleaner opening to insert your clips.
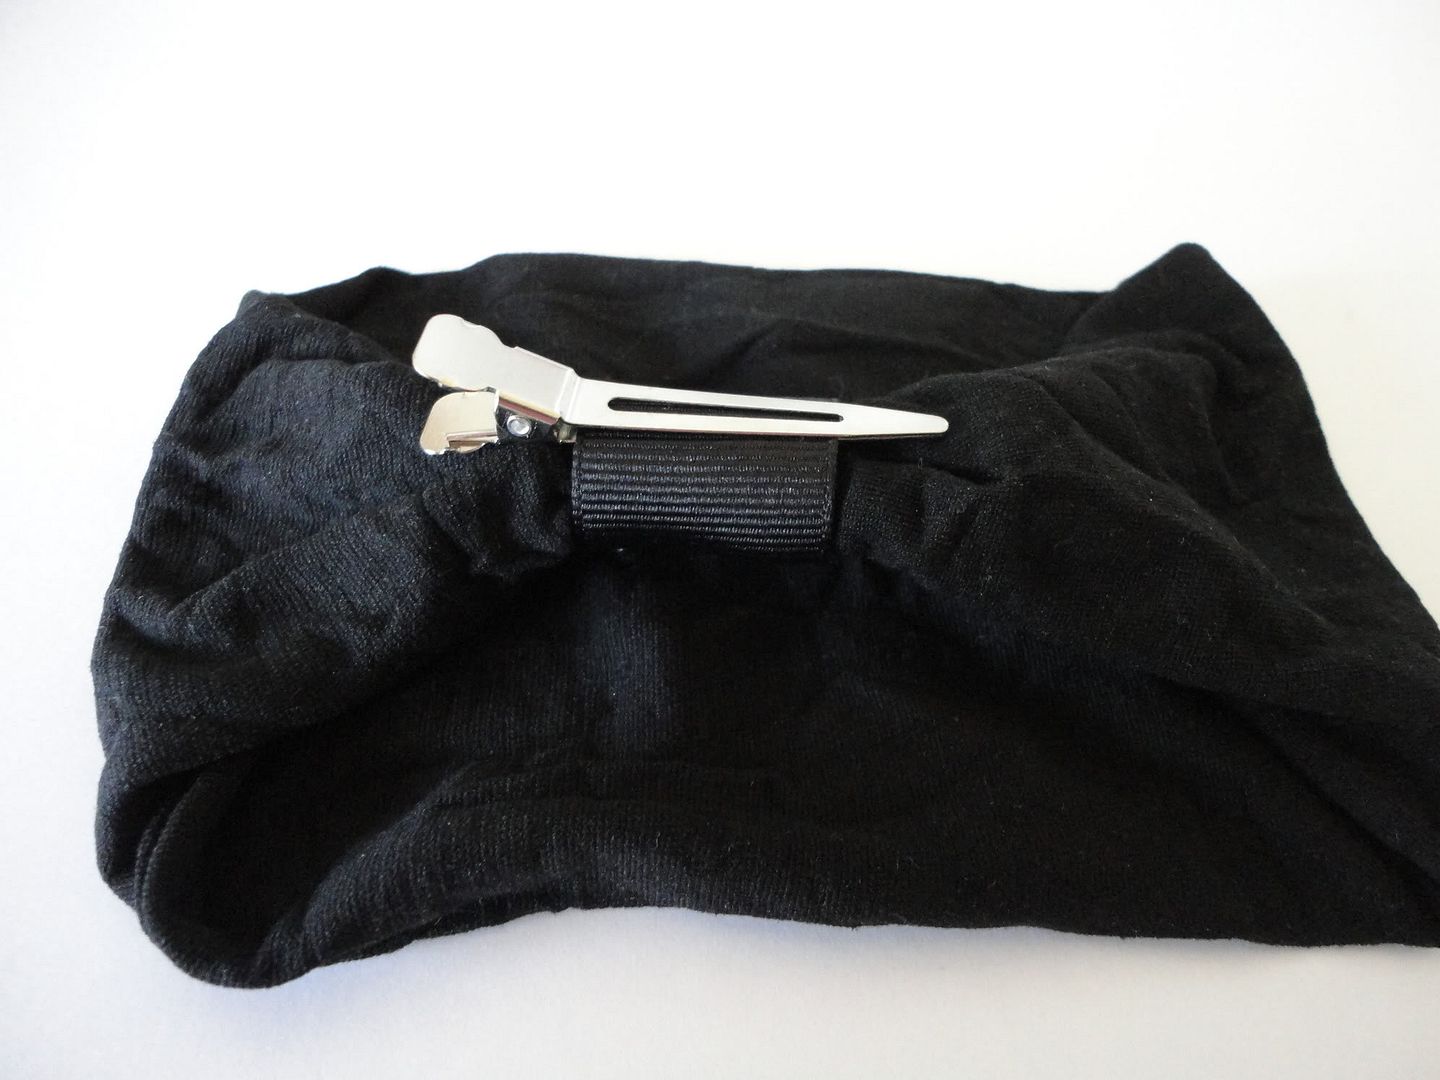
Now interchange all of those cute bows and flowers on your sweet baby girl!
If you use this tutorial, please leave a comment- I'd love to hear any questions and comments! Enjoy!!
4 comments:
Thanks for the tutorial! I am going to put it on my "to do" list.
I was wondering who this great friend was and as I kept reading I realized it was me!!! You are too sweet! I LOVE my bow holder and I cannot believe you MADE those headbands! You are so crafty!!!
Is it possible to make these if you don't have a sewing machine?
Meggilizz- yes, you can make it without sewing the two ends together with a machine. Instead, you can either do a little hand sewing, or you can hot glue the ends together. Just make sure that which ever method you use, you secure it good enough that when you pull to stretch the headband on the baby's head, it doesn't come apart. Good luck, I'd love to see how they turn out!
Post a Comment