Showing posts with label Boy. Show all posts

1.26.2013

Sister's BABY Shower

I cannot even begin to tell you how excited I am that my sister is having a baby! I will finally become an aunt, and I have already been enjoying spoiling the coming baby. What's even more fun, is that her and I are both expecting boys within months of each other. Best Friends & Cousins!! CANNOT WAIT!

So when a friend offered to throw my sister a baby shower, I was first on board to offer to help in any way I could.

First, I began by designing the invites:

It was held at the other host's home, so she did most of the decorations, I simply contributed at chalkboard bunting that I wrote BABY on- no pictures of that project...

We had some yummy food:

Played a few games:
We played the ever popular Points in Your Purse game. I created this little printable (which will be available soon) and some ladies came up with crazy high scores!

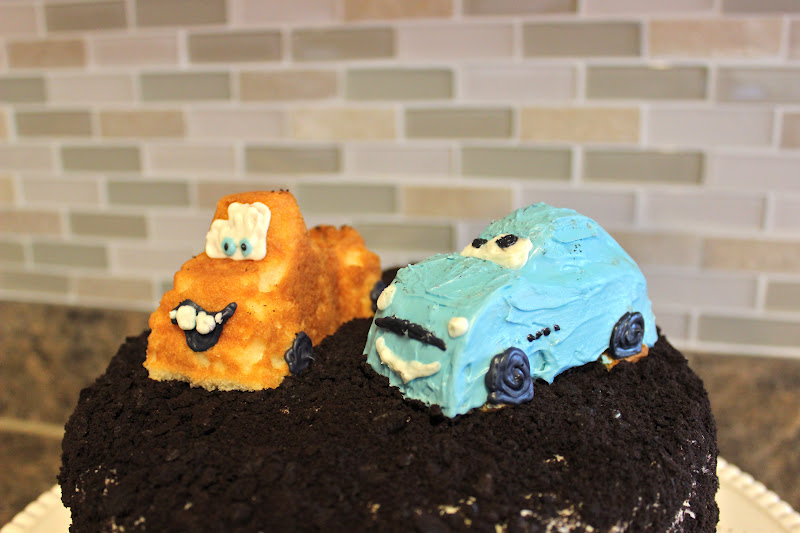
We also played a really funny game where you chew up some bubbly gum then sculpt the gum to look like babies. We then voted on our favorite.

Then we, or course, opened presents. Here's what I made for my sister, or rather for the BABY!

Hand-stamped onesies. I cut out some simple shapes from foam, then stamped. 

Crochet bear beanie.

Triangle pieced car seat canopy. (I had been wanting to try out this triangle quilt that I pinned on Pinterest a while ago, and I figured this little canopy would be a good place to start. I paired it with a black & white striped and trimmed it out with piping. So fun!)

Now I just have to wait a bit longer to hold that little guy! Can't wait!

9.07.2012

A Room for Two Brothers

Since both of my boys celebrated their birthdays last month, I decided it was time to share some pictures of their room. It's completed for now. Of course, I have more that I'd like to do with it, but I think it's at a good stopping point while I focus on other projects around the home.

Here is the picture I took of their room a month before the house was completed.

And here it is a month later, just days before we closed. It was a beige 12'x12' box. The perfect blank canvas.

At that point, big brother had the room entirely to himself, and this is what it looked like until we morphed it into his transitionary big boy room. We didn't know if the coming baby was a boy or girl, so I didn't want to do anything permanent.

After little brother's arrival, I started to mentally rearrange their room. I wanted it to be a playful, yet clean space for two brothers.

The twin bed that big brother sleeps on, has a match in the attic just waiting for little brother to be ready for it. I can't wait to have their matching beds lined up along the wall under their matching jute monograms.


The rocker has seen better days. It may soon become replaced with a little reading/ play corner. 


This just shows the room from different angles to give a feel for how things are laid out. I have had so much fun putting their room together. I didn't do any super difficult projects or techniques, but I love how simple and crisp things are. I will do a separate post showing all of the fun little details scattered about, and maybe a few how-to posts.

Sources:
World Map print- Ink of Me via Etsy
Pirate Kitty print- Sass & Peril
Green stripe paint color- Behr, Grass Cloth 400D-5

9.06.2012

Cars 2 Cake

My little boy is obsessed with anything Cars 2 related. He likes Lightening McQueen okay, but he loves Finn McMissile. As his birthday approached, he constantly reminded me that he wanted a Cars 2 birthday party. 

Here's the cake I made for him:

I used a car forms cake pan, and chose the ones that were shaped most like Mater and Finn. I frosted Finn with blue buttercream, and left Mater as just cake, because it looked more rusty than frosting would have. I added the eyes, mouths, and wheels with more colored frosting.


The cake was just a plain vanilla cake, but I added chopped Oreos into the batter before baking. It has three layers, is frosted in cream cheese frosting and has crushed Oreos all over it- kind of looks like dirt . . .


The birthday boy loved it, and devoured Finn while sharing Mater with his big sister.


1.18.2012

Big Boy Quilt

I've been going through my photo files and came across pictures of my son's twin quilt. It's been done since last June, and he's been sleeping in it since then. So this is late in sharing, but with a project that takes that much attention, I have to share. 


His nursery had the following color scheme:
I had painted this canvas for his nursery. 
 I wanted to make the painting and the other details and pieces transition right into his big boy decor. Here's a picture of his nursery to give you an idea. I wanted to reuse the navy curtains and all the stuff on his shelves.

So I headed to my favorite local fabric shop Cabbage Rose to see if I could find some fabrics that would work. I needed 9 different fabrics for the design I drew up, and I came home with 8. I had some Heather Ross fat quarters at home that I thought I could use if I didn't find anything I liked better. So all together I had my 9 fabrics: 3 dark blue, 3 light blue, and 3 green.

I got to work cutting my squares . . . I needed 100.

 Then I laid them out on the floor. I didn't want the fabrics to repeat consistently, I wanted it random, so down they went.

Then I sewed each row together. Then two rows got sewn to each other. 

After sewing my five, two row pairings, I sewed in some gray sashing, and a gray border. Then it was time to quilt it. I considered machine quilting it, but since I hand quilted my older daughter's quilt, and loved the look so much, I finally decided that was the way to go. Up went the quilt frame, and the hand quilting began. I finished it in 3 days- a little here, a little there, till it was done.

Then, I trimmed down the batting and quilt back, sewed on some binding (machine sewed the first round, and hand stitched the top round to avoid seeing any machine stitches.) Then it was done and ready to get put to use! Our little guy wasn't quite ready to sleep in the big boy bed, and for the first week or so, he would ask for his crib. We put his crib in the toddler bed setting, and let him sleep there until he was ready. I think the little doggies, fish, and campers on the Heather Ross fabric helped him come around!

So here's what his room looks like today. We originally had the crib on the opposite wall from his bed, but we decided to give baby brother his own room for a while. So the room decor is in a transitional state for now. There are two of those bed frames that were my uncles' when they were little. Then my sisters and I used them, then our older daughter used it, and now it's the boys turn. I dream of the day when my two boys have their matching big boy beds lined up on the wall, but for now, at least one big boy has a cute quilt to sleep under.

5.24.2011

Infant-Toddler Tie Patterns & Tutorial


This has been a long time coming, and I am now excited to share with you my Toddler Tie Patterns & Tutorial!! I recently used my patterns and instructions to teach some ladies in my area at a Super Saturday crafting event, and their ties turned out so cute. It's fun to see the ties in all of the different fabrics that people choose, and even more fun to see the ties in action on their cute little boys!


All files are available for download as PDFs. This pattern is available in 4 different sizes:


The instructions go step-by-step and include pictures with each step. Hopefully this will make the process clean and easy. Please let me know if you have any questions or suggestions for clarification.

As always, these patterns and instructions are copyright of Kinzie's Kreations. They are for PERSONAL use only. Do not reproduce this pattern or sell for profit. Do not sell products made using this pattern and tutorial. Thanks for your cooperation!

Enjoy!


Linked up to:


Thirty Hand Made Days

Amazon Affiliate