Showing posts with label Baby Shower. Show all posts

4.03.2013

Easy Minky Baby Blanket

I posted about a minky baby blanket that I made for a friend's baby, and here is the quick tutorial to go with it. These blankets are fairly easy to make, and can be completed in less than an hour. They are super cuddly and so cute.

Materials needed:
1 yard minky
1 yard cotton, satin, or flannel fabric
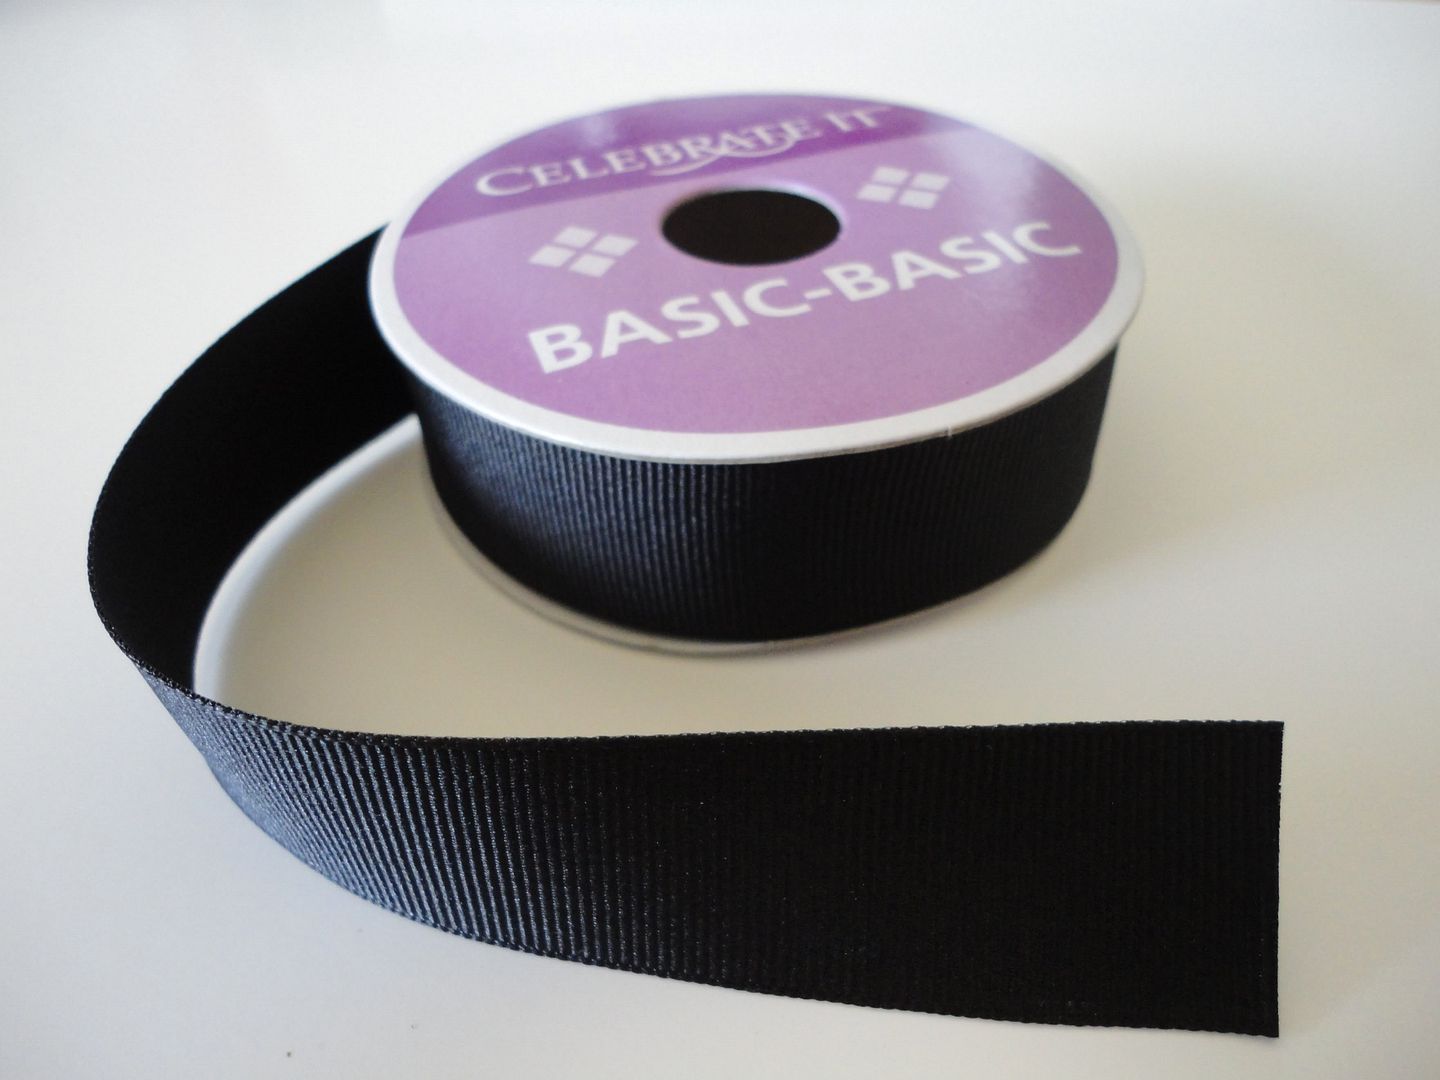
1-2 packages satin binding (at least 4 yards length total)
coordinating thread

Instructions:
1. Lay out your front side fabric and make sure that the edges are straight and square. Round out the corners by tracing around the edge of a plate or can with a pencil and trimming off excess (I didn't do this then, but did it later. Either way works.

2. Baste satin binding trim around the front side fabric using a 3/8" seam allowance, onto the right side of the fabric. Overlap edges of binding where they join.

3. Lay out your minky, right side up, smoothing out any wrinkles. Place front side fabric on top of minky, right side down. Trim off excess minky (or trim after sewing like I did, because I was too lazy...) and pin through all layers.

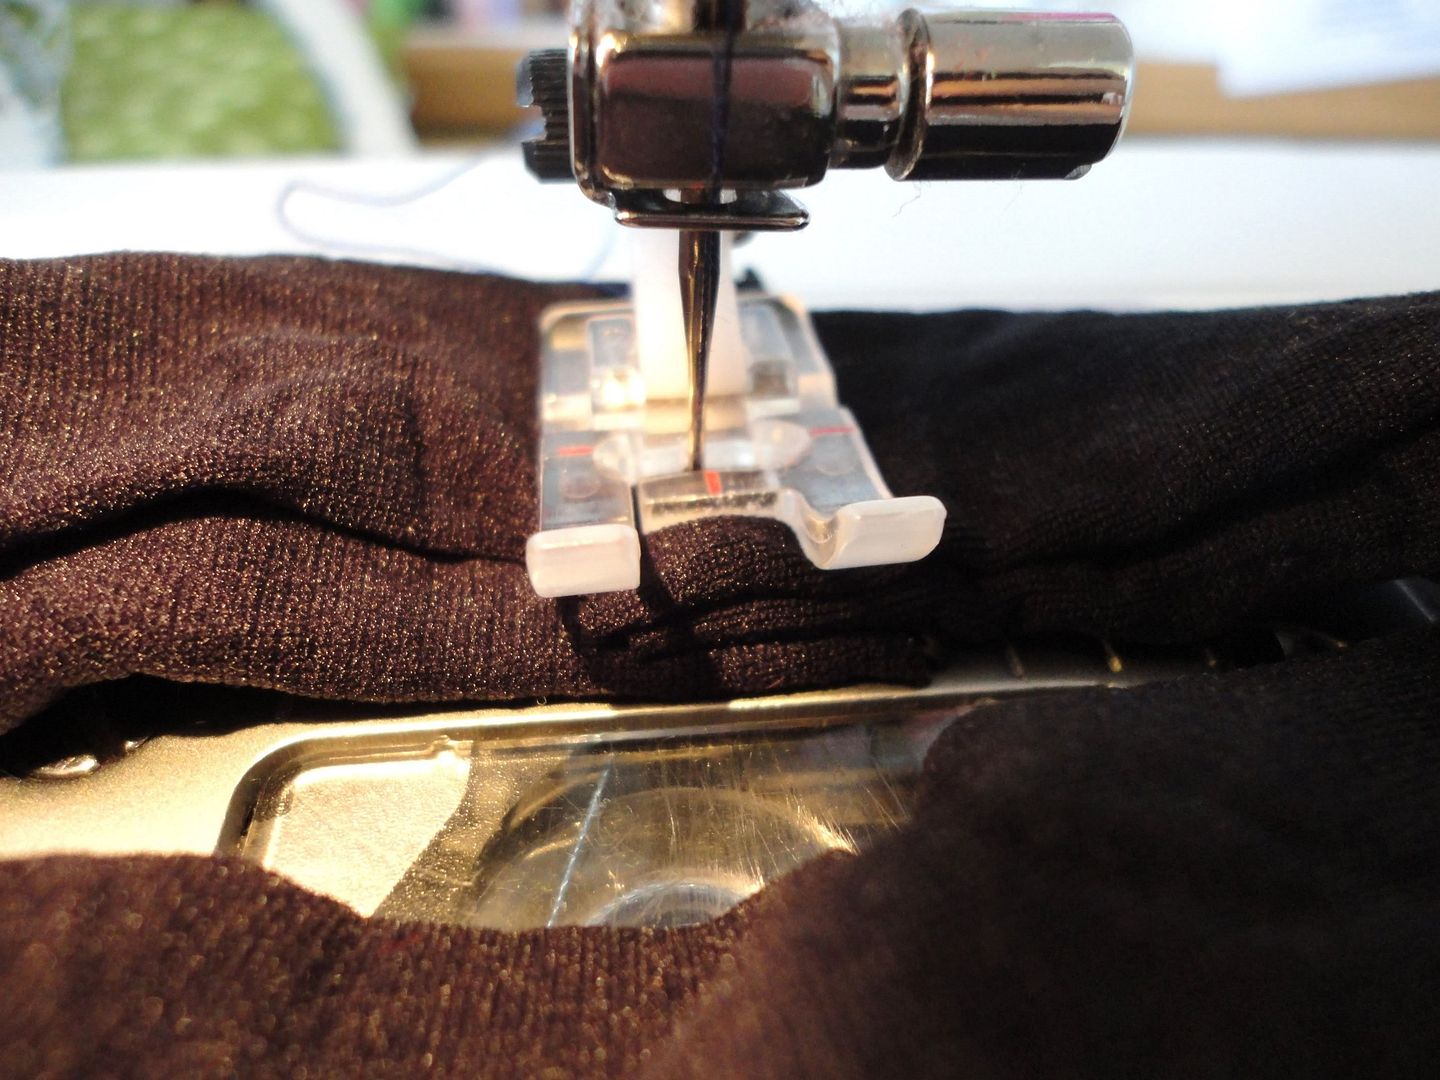
4. Using a 1/2" seam allowance, sew through all layers, making sure to leave an opening.

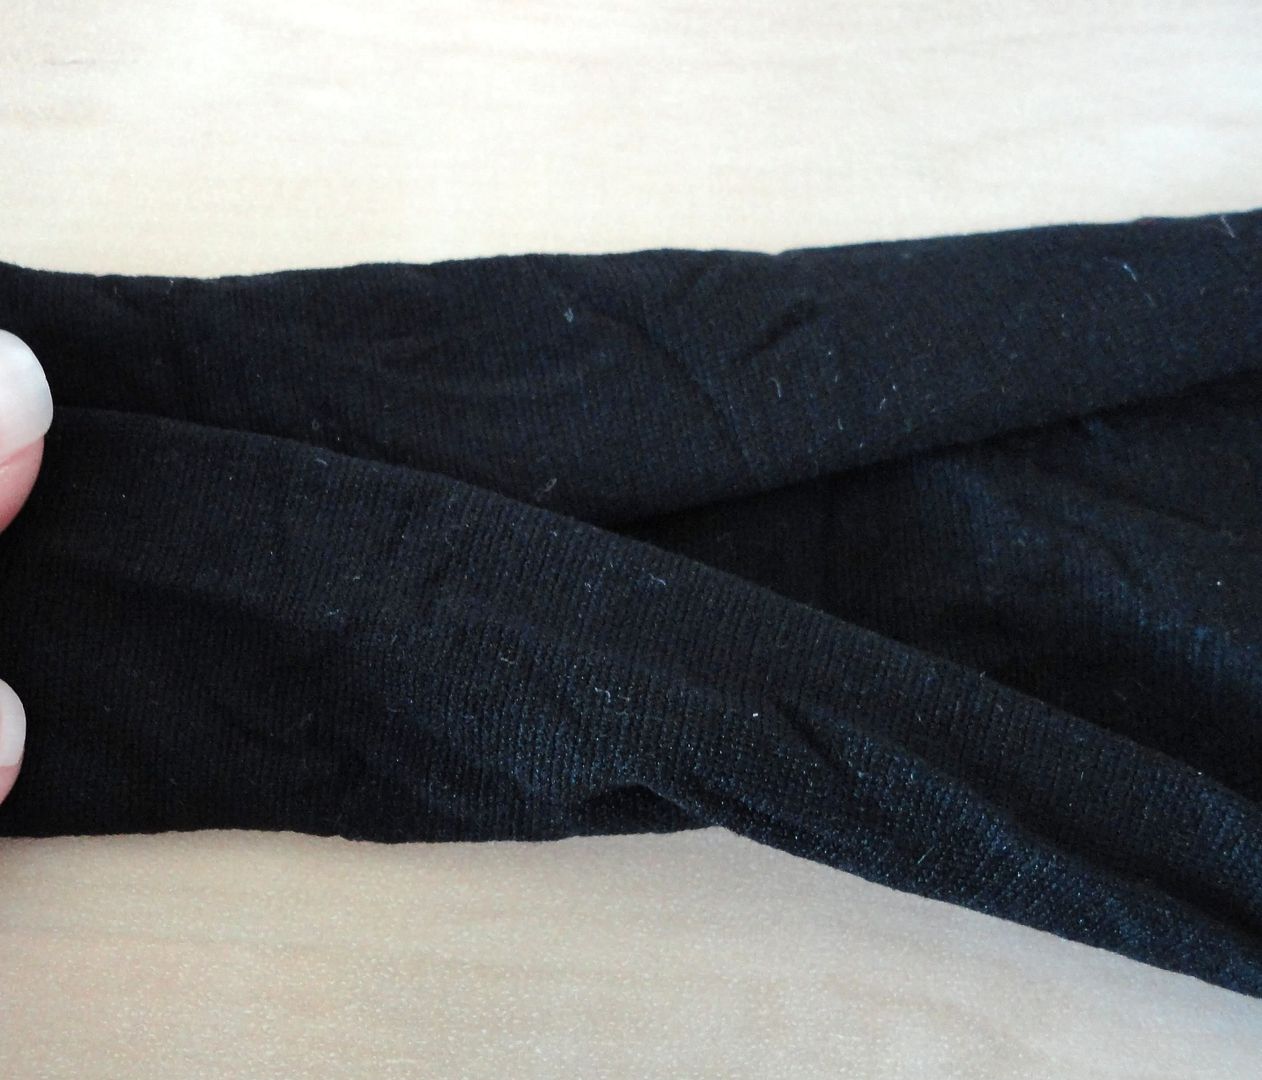
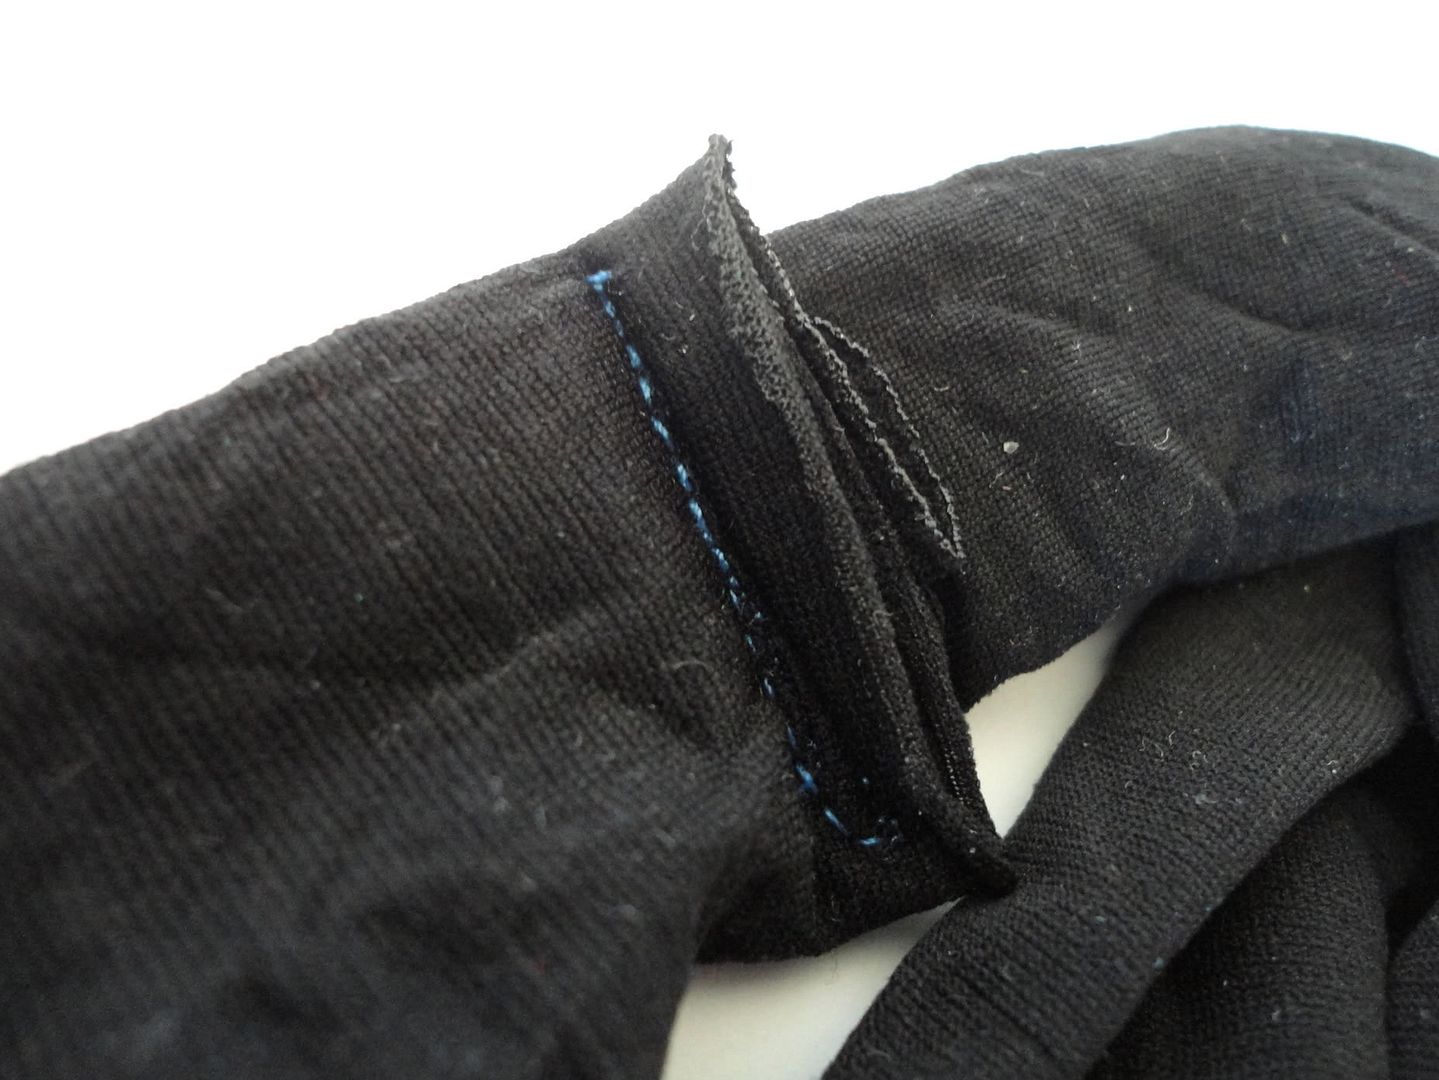
Here's the seam opening:

I left about 4 inches open.

5. If you haven't already done so, trim off excess minky now, clip corners but don't snip through the seam.

6. Now flip the blanket right side out through your opening.


7. Now you can hand sew up the opening (which is what I did) or top stitch around the entire blanket, catching the opening in your top stitch seam.

Done!


Baby Girl Showers

Here are a few of the fun girly things I've made for some of my dear friends. My kids each have their own special blanket, (which they have recently started calling "nonnies" because that's what the youngest calls his...) all of which have super soft minky on them. So when making a blanket for a sweet baby girl, I knew it had to have this cuddly fabric too. I put minky on one side, cotton print on the other and a silky trim around the edges. And I'm happy to say that this blanket is getting lots of good use from the most adorable baby girl!

Click HERE for a link to the blanket tutorial.

I used some of the scrap fabric to embellish a burp cloth, and crocheted a little beanie for her too. I love that pink little flower.


Another one of my friends is expecting twin girls! I made her two coordinating carseat canopies. They have the same pink fabric on the back side and coordinating fabric for the front side. I added some cute little bows to make them even more girly. Sorry no tutorial, but there are tons of great tutorials across the internet. Now I just can't wait to meet the two cuties in a month or so.


It seems like the rest of us pregnant ladies are all expecting boys! So on to boy crafting we go!

1.26.2013

Sister's BABY Shower

I cannot even begin to tell you how excited I am that my sister is having a baby! I will finally become an aunt, and I have already been enjoying spoiling the coming baby. What's even more fun, is that her and I are both expecting boys within months of each other. Best Friends & Cousins!! CANNOT WAIT!

So when a friend offered to throw my sister a baby shower, I was first on board to offer to help in any way I could.

First, I began by designing the invites:

It was held at the other host's home, so she did most of the decorations, I simply contributed at chalkboard bunting that I wrote BABY on- no pictures of that project...

We had some yummy food:

Played a few games:
We played the ever popular Points in Your Purse game. I created this little printable (which will be available soon) and some ladies came up with crazy high scores!

We also played a really funny game where you chew up some bubbly gum then sculpt the gum to look like babies. We then voted on our favorite.

Then we, or course, opened presents. Here's what I made for my sister, or rather for the BABY!

Hand-stamped onesies. I cut out some simple shapes from foam, then stamped. 

Crochet bear beanie.

Triangle pieced car seat canopy. (I had been wanting to try out this triangle quilt that I pinned on Pinterest a while ago, and I figured this little canopy would be a good place to start. I paired it with a black & white striped and trimmed it out with piping. So fun!)

Now I just have to wait a bit longer to hold that little guy! Can't wait!

6.25.2012

A Mini Rag Quilt for Baby M

So many babies are being welcomed to the world right now. That means lots of baby showers, and some fun crafting projects. Here is the first rag quilt I've done. I made it with quilting cotton on the front, and flannel on the back. It was made for one adorable baby girl- Baby M. 


I had some left over scraps, so I added them to some cloth diapers to make a few matching burp cloths. 


She follows 2 brothers, so we were all eager to spoil her and her momma with everything girly and pink.


Welcome to the world beautiful M!

4.12.2011

Infant Nylon Headbands {Tutorial}

So my son has this cute friend. He is adorable and I think his parents should make 10 more just like him. As to the world's luck, his momma is pregnant with a little girl, coming in a few weeks. She claims she's new to the "girl" thing, but this momma is one of the cutest, most stylin' pregnant people I know (and she even offers to let me borrow her maternity clothes- lucky me!) and I know her daughter is going to be one well dressed little girl. So to initiate her into the world of  baby girls, I made her a bow & headband holder and a few headbands and clips to go with it for her baby shower.

Photobucket

I think nylon headbands are the best option for babies. They aren't tight like some that leave indentions on your poor baby's head, and they are soft, not scratchy like some of the ribbon crochet ones. Rather than go out and spend around $5 a headband, I went back to my tried and true alternatives, and made her some myself. I've made them for several friends, and am finally getting around to a tutorial. There are probably a ton of tutorials out there, but this is how I made mine.

Nylon Headband Tutorial:

Needed:
Infant nylon tights-- I bought a 3-pack for around $3 and got white, pink, and black.
Photobucket
I used size 6-18 months tights. I would avoid the smallest size since they will be tighter once made up into a headband. One pair of tights will make 2 headbands, thus my 3-pack made 6 headbands.
Grosgrain ribbon-- I used 7/8 inch wide ribbon and used about 4 inches per headband. You can use anywhere from 1/2 inch - 1 inch wide ribbon.
Hot glue
Thread

Photobucket

Instructions:
1. Cut the leg just at the crotch line.

Photobucket
2. Cut the toe seam off.

Photobucket
Your nylon piece should now be a big tube.

Photobucket
3. Lengthwise, fold your tube in half then in half again, at both ends.

Photobucket
4. Overlap your two folded ends on top of each other and secure by stitching.

Photobucket
At this point, your headband will look something like this picture above.

Photobucket
5. Heat seal the end of your ribbon to prevent fraying. (Just grap a lighter and hold the ribbon to the flame for a second until it slightly melts.)
Photobucket
6. Hot glue the end of the ribbon to the middle of the stitched section.

Photobucket
7. Wrap your ribbon tightly around stitched section and hot glue.

Photobucket
It will now look like this, with the stitched, overlapped edges hidden by the ribbon.

Photobucket
8. Wrap ribbon around again, and cut ribbon to match where you first glued your ribbon (this will be the side against the baby's skin.) Heat seal this cut end, then apply glue and secure ribbon.

Photobucket
Your headband is now complete and the ribbon section will look like the above picture.

Photobucket
Below is a close-up of the ribbon from the side. The reason that you wrapped it around twice is so that you create a cleaner opening to insert your clips.

Photobucket
Now interchange all of those cute bows and flowers on your sweet baby girl!

Photobucket

If you use this tutorial, please leave a comment- I'd love to hear any questions and comments! Enjoy!!

9.23.2010

Diaper Cake {with Tutorial}

I have always wanted to make a diaper cake. They look so fun all loaded up with baby goodies. The problem is that I would always come up with something that the new mom would need for their boy or girl... a personalized onesie, a ruffled dress... But when it comes to the mom that already is stocked for both a boy and girl (because they already have one cute son, and one darling daughter) I figured the thing this momma really needed was diapers. Buying a package of diapers and sticking it in a gift bag is just not how I roll. So the time finally came for me to attempt my first diaper cake (and I was secretly grinning inside with excitement to go gather all of the cute things and put it all together.)

Come join me as I make my cake!

First, I gathered the following items:
This is for a medium sized, 3-tiered cake. If you want to make a smaller one, buy less; if you want to make a bigger one, buy more of each item.


  • 1 package of size 1 diapers (50 count)

  • 1 empty paper towel tube (half of a gift wrap tube works too)

  • a scrap piece of cardboard to make about a  12" circle (I cut mine out of another diaper box)

  • packing tape

  • spring form baking pans (optional but VERY helpful)

  • grosgrain ribbon

  • curly ribbon or string

  • 1 flannel receiving blanket

  • baby goodies (I used 2 pairs of socks, 3 bibs, 2 rubber animals, 1 baby ball, and a bottle cleaner. Other ideas include teethers, rattles, bows, diaper cream, etc.)

  • roll of tulle
1.  Cut 1/2" slits on one end of your cardboard tube

2.  Bend slits out and center on cardboard circle. Using packing tape, secure tube to circle base.
3.  Remove bottom of spring form pan and place it around your cardboard base. (This picture doesn't have the circle cut yet, I took this picture after finishing my first cake because I didn't take pictures of this step.)
4.  Fold your receiving blanket to approximately match the height of your diapers. This doesn't have to be perfect. Wrap the blanket around your tube and use a pin to temporarily secure in place. This step helps add thickness to the first layer. If you want it wider, add a second blanket.
5. Take 25 of your diapers and fan them out around the blanket, using the pan to help you keep it circular and tight.
6.  Tie your grosgrain ribbon tight around this layer of diapers. Remove pan.
7.  Place a smaller spring form pan on top of this layer. Using 19 of your diapers, create a second layer fanning the diapers as you did in the first tier. Secure with grosgrain ribbon and remove pan.
8.  Using the remaining 6 diapers, stand them up tall (you can do them on their side like the previous layers if you like that look better) and fan them around the remaining cardboard tube and tie with ribbon. It should now look like the picture above.
9.  Now the fun part begins! Tuck in baby goodies around cake. Stick them in the ribbons, tie them on the extra length of grosgrain, or use curly ribbon or string to secure bulky items (if you look closely you can see it tied around the rubber animals.) I stuck a bottle cleaner in my cardboard tube to act as a cake topper.
10.  If necessary, trim the cardboard base. Use the roll of tulle to wrap your cake- this helps keep everything together and even more secure.
11.  Head to the baby shower and show off your Kreation!!

Now I excitedly await the arrival of this new boy into this sweet family! Congrats W family!

8.25.2010

Babies!

It's baby season! But when isn't it baby season? These babies have been keeping me busy, and I love being busy making cute baby things. Two of my friends are having girls, and here are the gifts I made for them.

This set was made for a friend I've know since high school. Her daughter is due in a month, and will be her first born in Texas. She'll be one cute Texan!!

This next creation is for one of my great friends. She threw my baby shower for me a year ago, and now she is having  a sweet baby girl (literally right now baby L is making her debut, if not already!!) It is her first girl, and I had to go all out. I sketched up this adorable dress, and it came out even cuter than I imagined- I'm a sucker for ruffles. After making it, I was tempted to keep it for myself because it was so darn cute! I had to make a matching hair goodie, because a girl's just gotta have some hair accessories!
Oh, and I almost forgot, I topped this off with two matching burp cloths! Got to be styling even during those icky moments.
Now I can't wait to see and hold these two sweet baby girls!

Amazon Affiliate